REAL TIME RESTORATION
Here you can follow the
restoration (live !), of a Dyna Z1 1954 all alluminium by Jan :
INDEX
:
Presentation
Nov
7th 1998 2H00 PM
Nov
7th 1998 10H30 PM
Winter
1999
May
1999
June
1999
July
99
August
99
October
99
December99
February00
Mai2000
Since summer 2000, one of Jan's son, Marteen, has decided to continue the story of the restoration on his homepage.
So click on the following link to see the next episodes :
CONTINUATION OF THE RESTORATION'S STORY
The car is a Dyna Z1 type,
all aluminium body, build in 1954 (the exact date has been lost in one of the
certificate of title changes). It has never been restored, body and mechanics
are complete, but need a serious restoration due to the years attack ! However,
the body is still in good shape, with no big bumps, only scratches here and
there, and obviously no rust ! The engine is not blocked, and still
"breathing", indicating that both the pistons and valves are still
working.
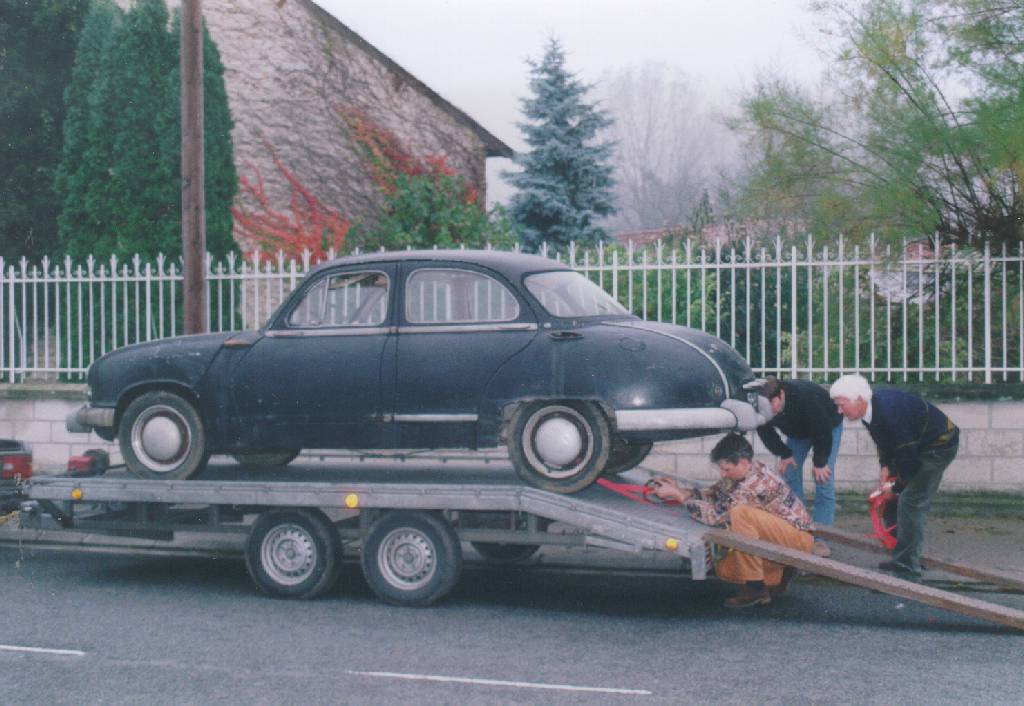
Saturday, November7th 1998, 14h00: the transport.
The car has to travel from
France to the Netherlands, for about 600Kms; Hopefully, the car is very light:
less than 700Kg ! It is secured firmly on the trailer, and the
"suicide" doors are tied one door to the other to avoid them opening
during the travel, as the locks are defective.
Saturday,November 7th 1998, 22H30 : the arrival.
The dyna has now found a new home ! Now
the next it will leave, it will be like brand new !
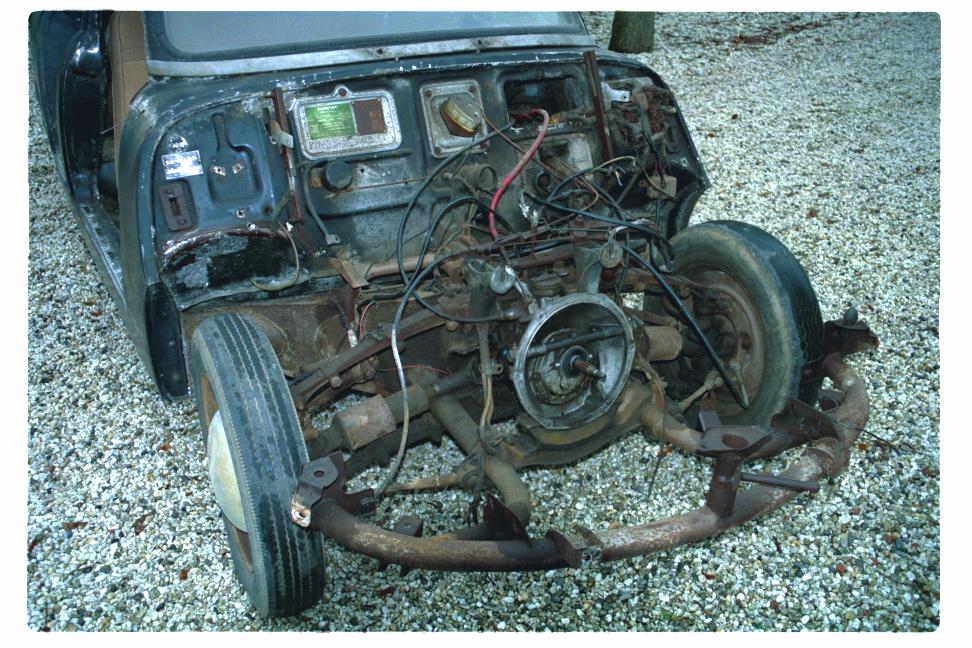
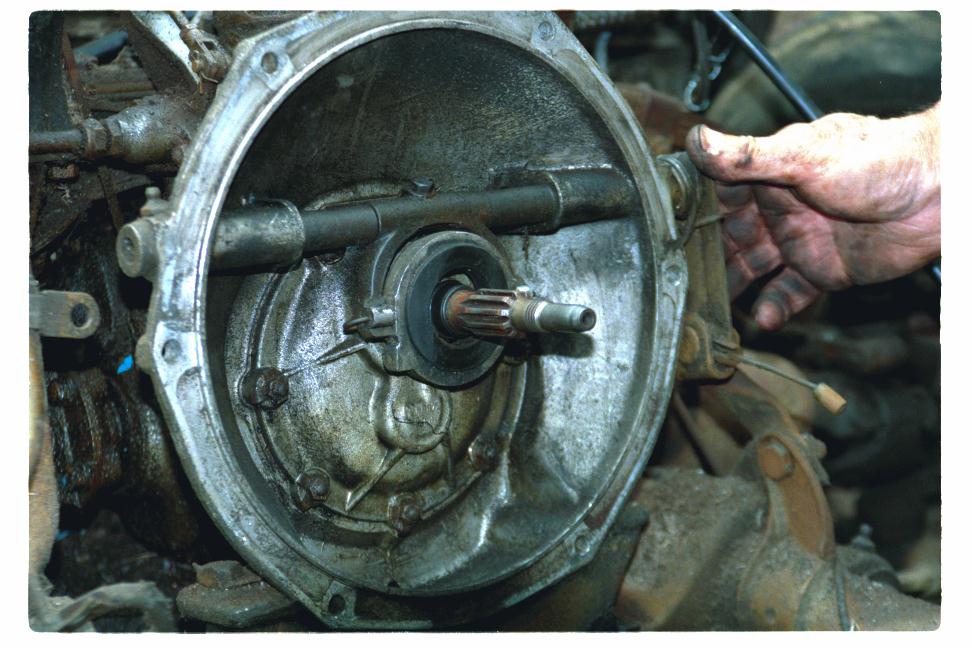
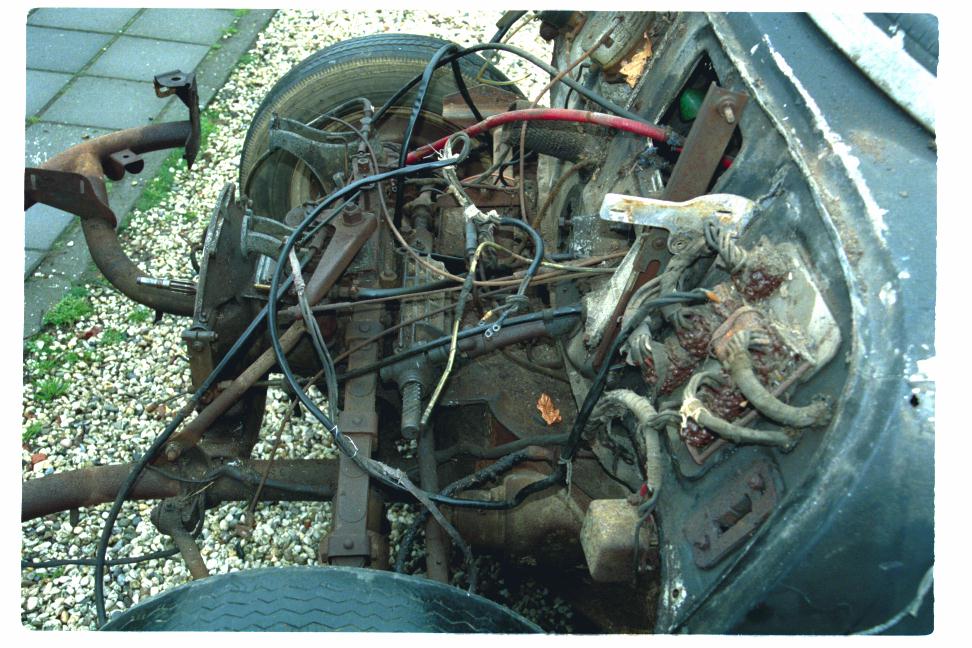
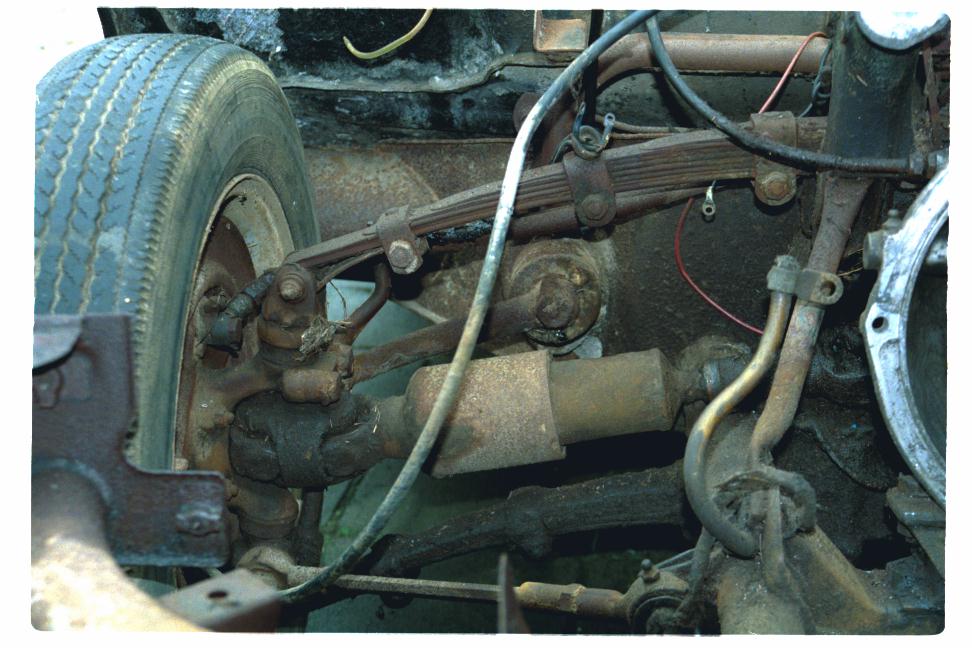
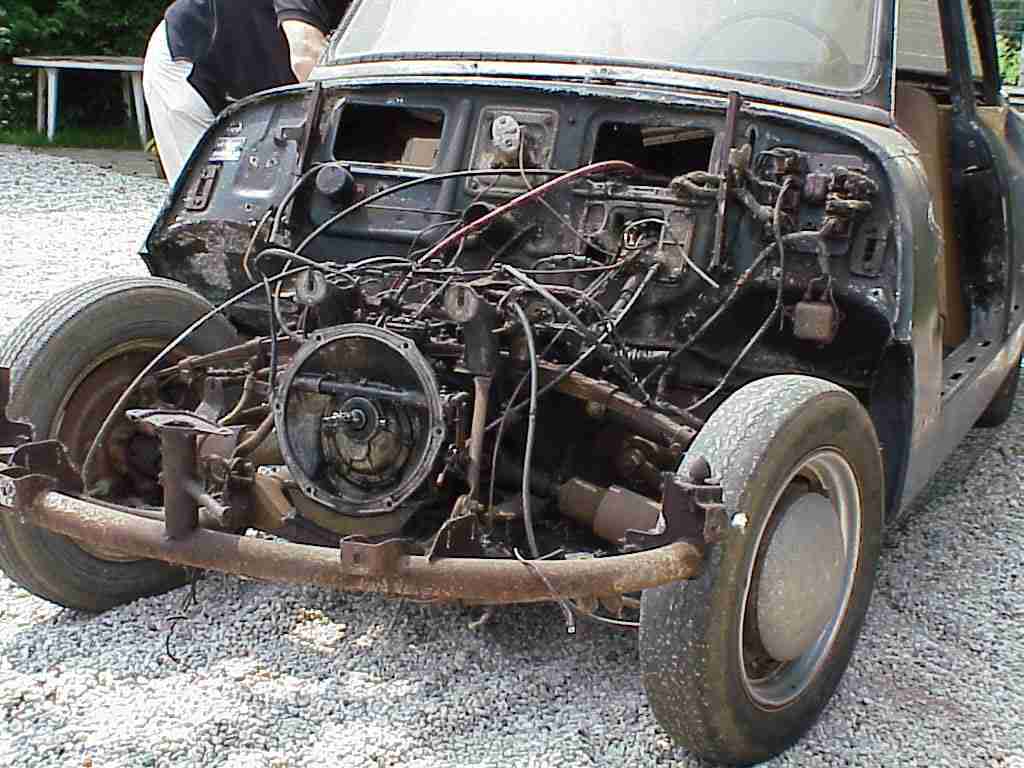
The Dyna is being
thoroughly taken into pieces : doors, hood, engine, interior; the clutch is
separated from the engine. The first pictures can now be shot,
as the weather gets better. Theses pictures will also be useful later on when
re-building the car. Its time to evaluate the difficulty of the restoration,
and to
make a first restoration plan.
The photos were taken by
Maarten van Druten.
- Minolta dynax-700 with a 50mm f1.4 andTamron 28-200 Aspherical LD lens
- fuji NPH 400 and agfa portrait 160 films.
- f 8.
- scanned with a cannon
Front view
Front view, without hood
Side view
Side view, without hood
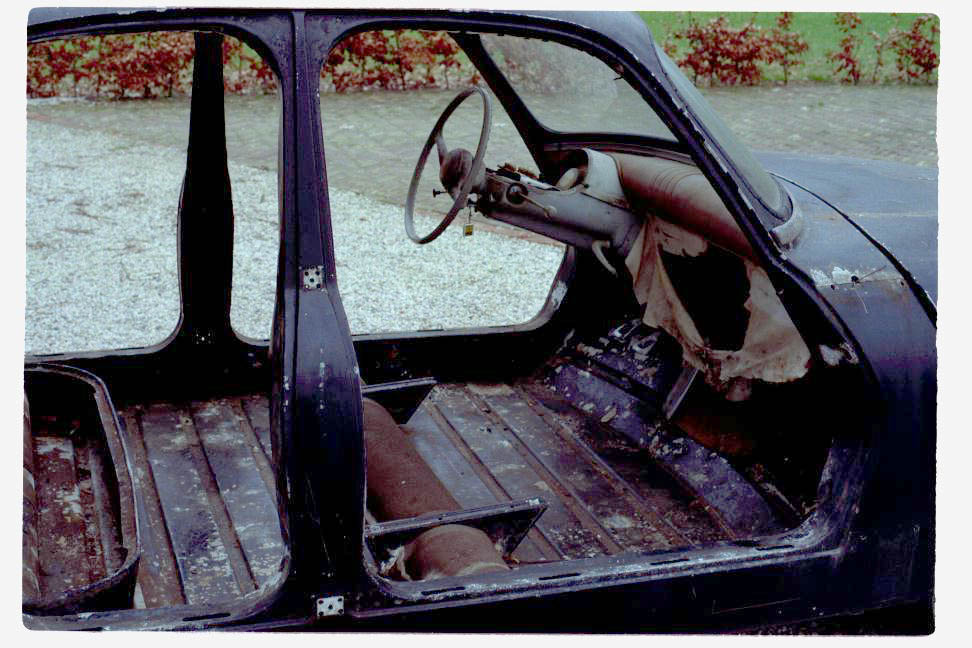
interior view
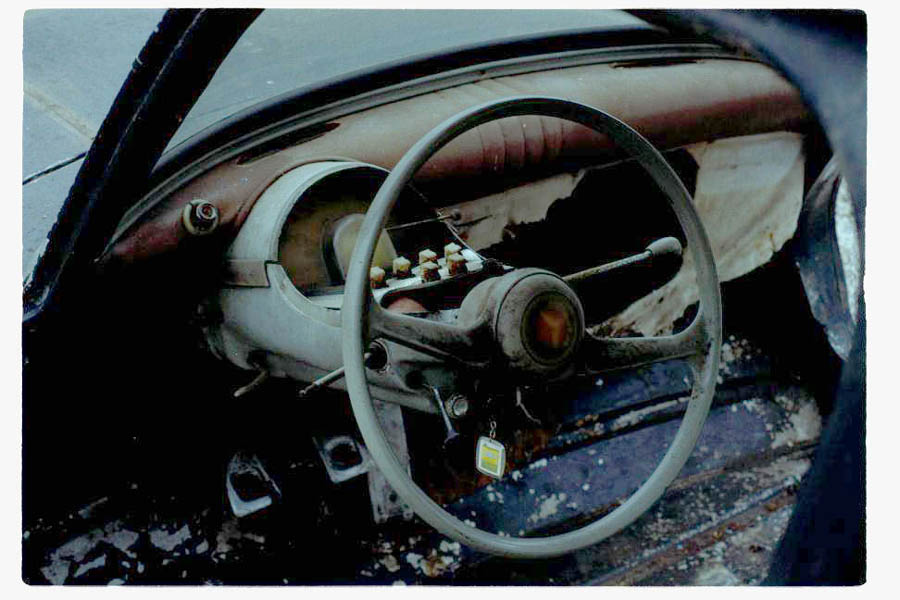
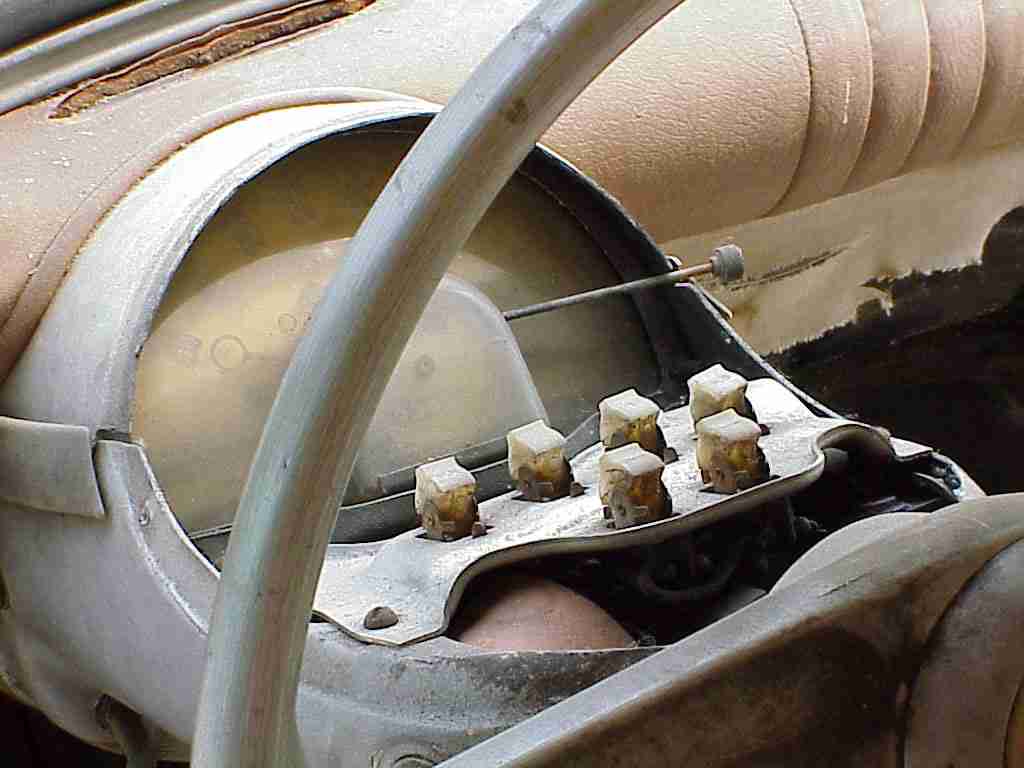
Dashboard view
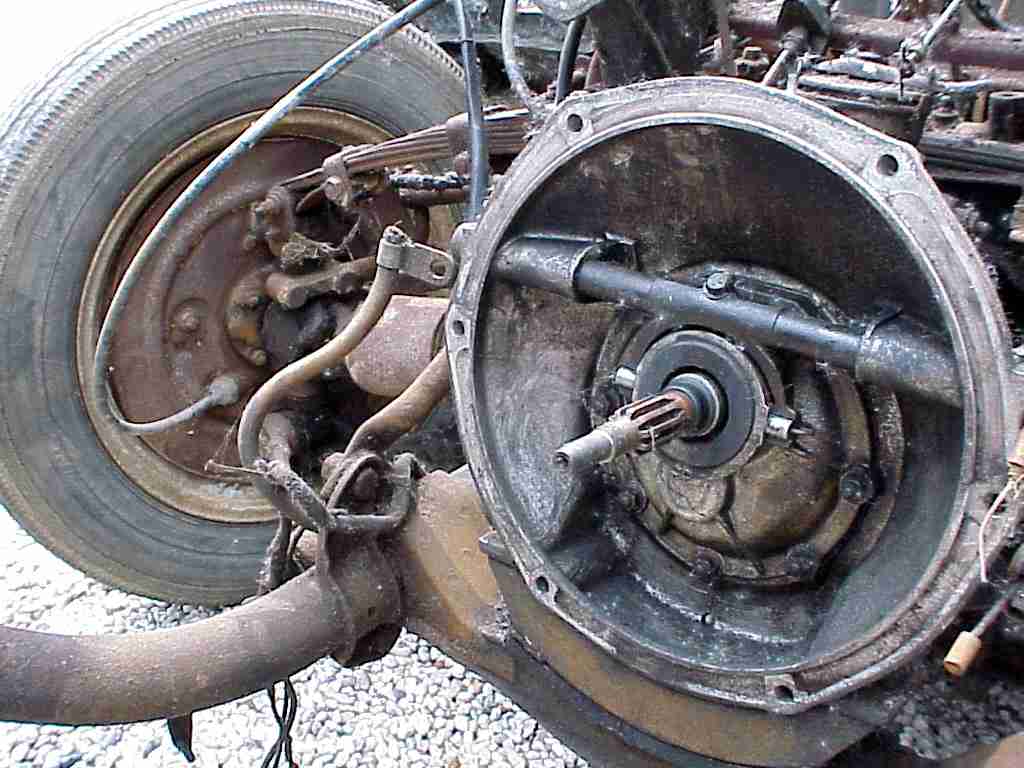
Gearbox view
Engine compartment view
Front supension view
Clutch view
A little housework
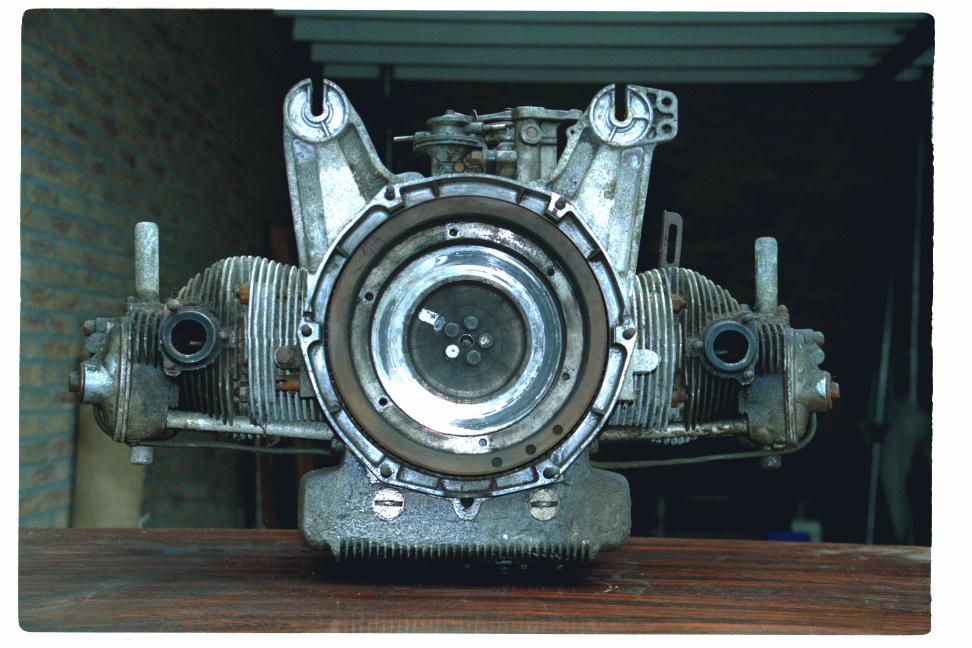
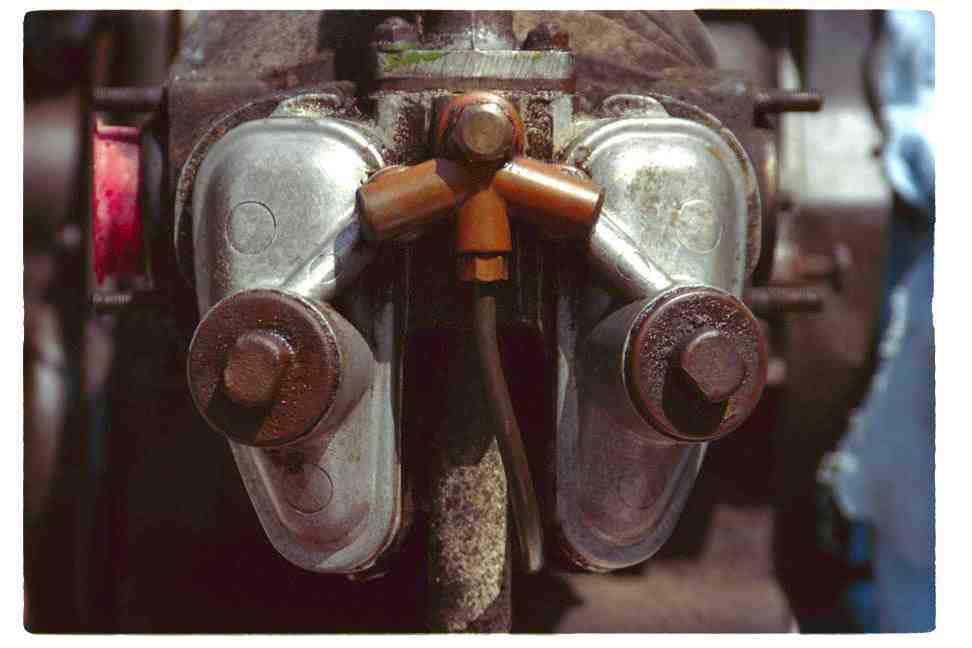
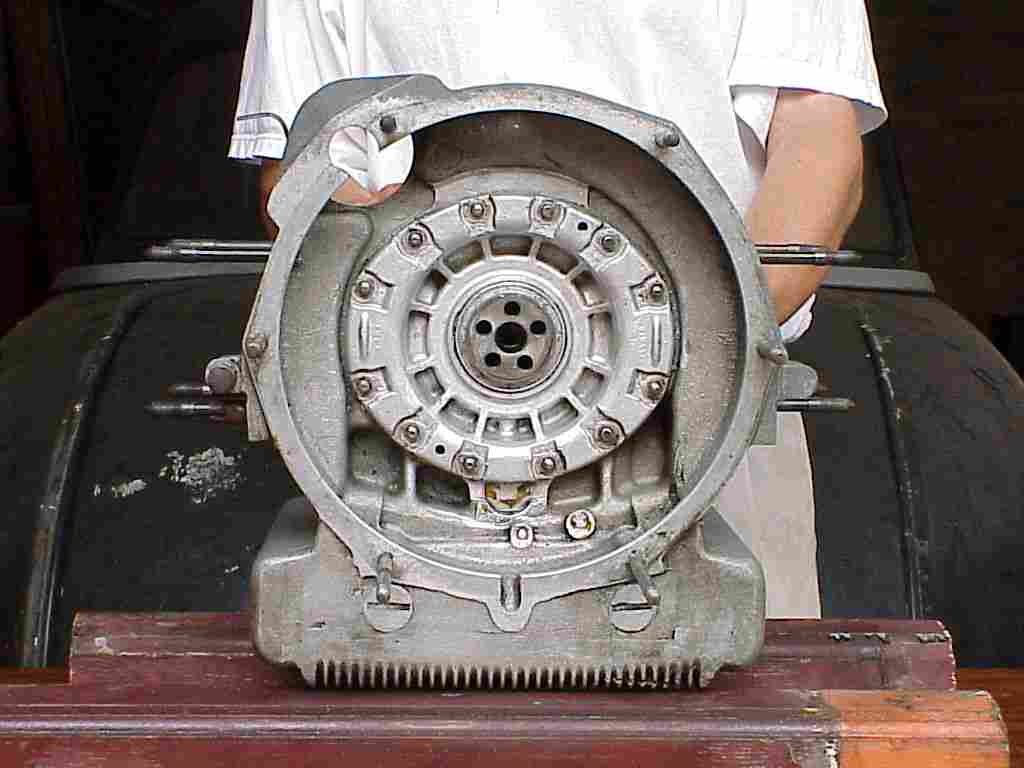
rear view of engine
May
1999 : Engine cleaning, fisrt restorations, first parts buys
Restoration plans for this
summer are : complete engine restauration with the help of the dutch panhard
club.
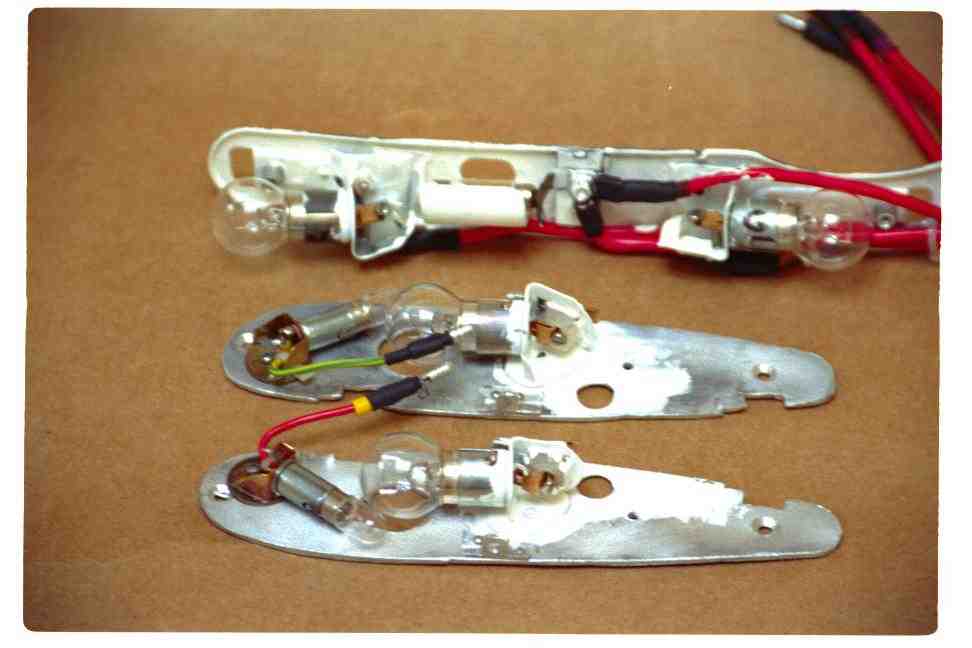
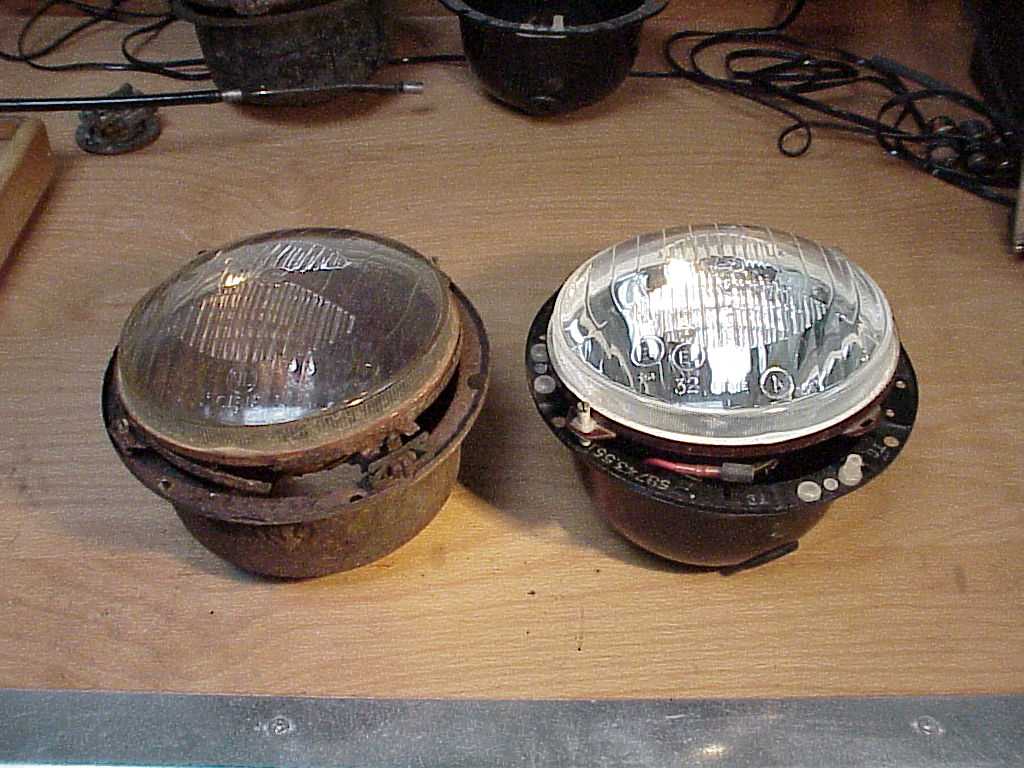
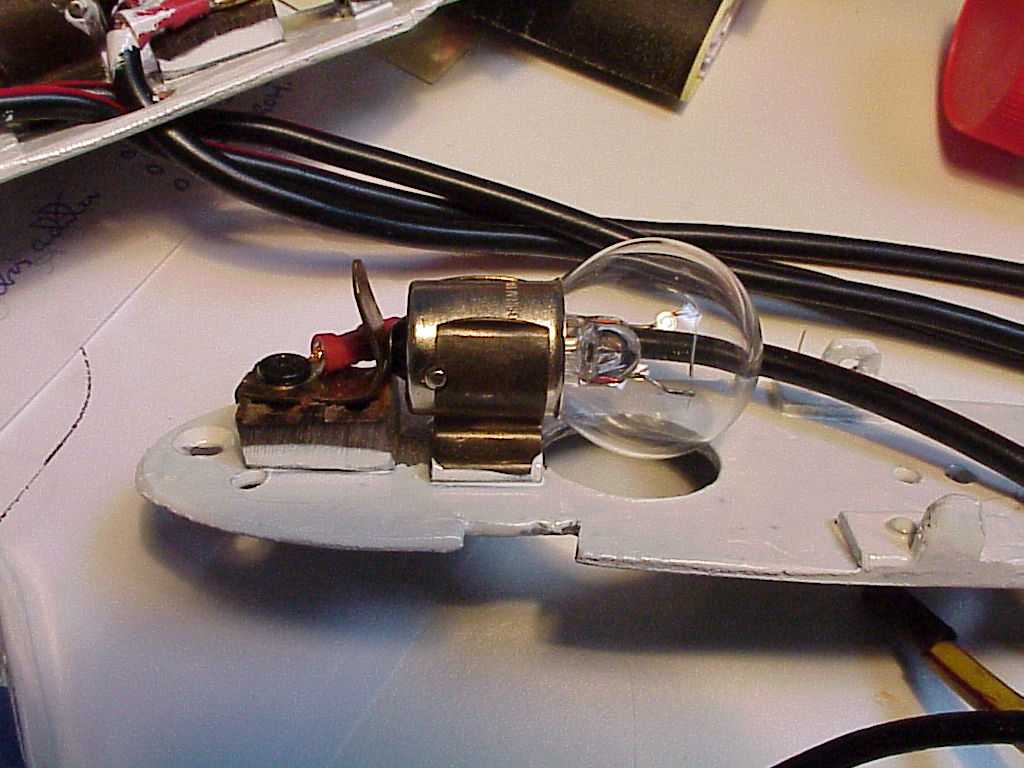
lights restauration
restoration of the rear and side lights(detail)
different parts of one side light
window mechanism has to be unrusted
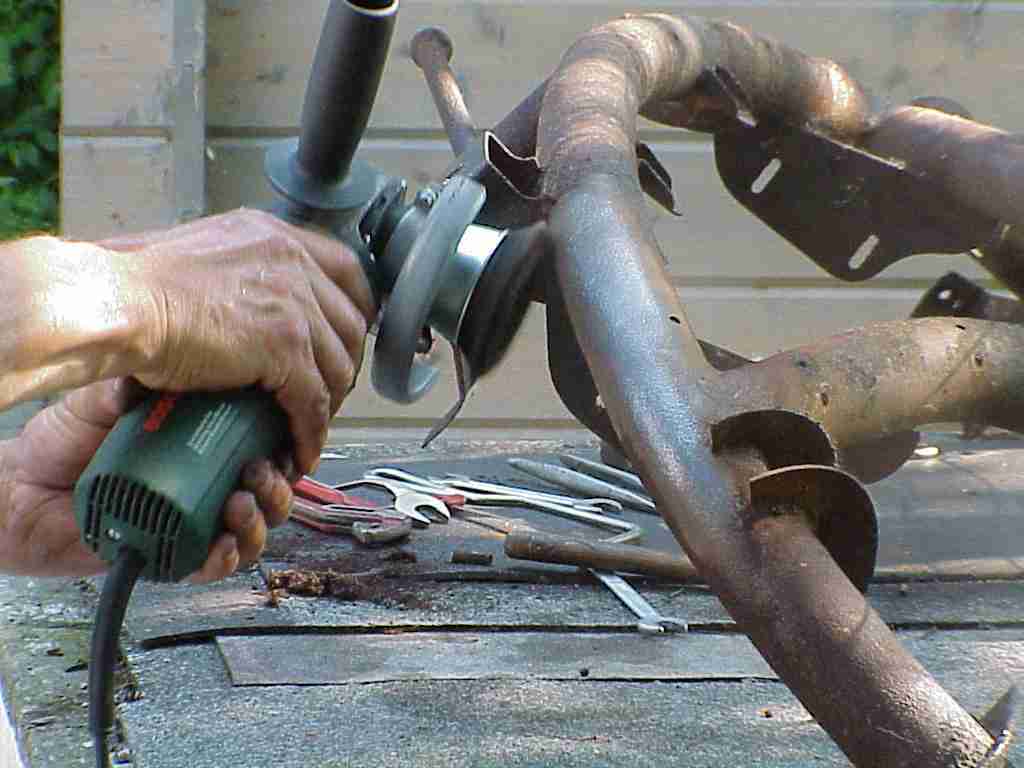
exhaust cannot be restored
parts bought the 8 may on the auto moto retro
in Douai
parts bought the 8 may on the auto moto retro
in Douai
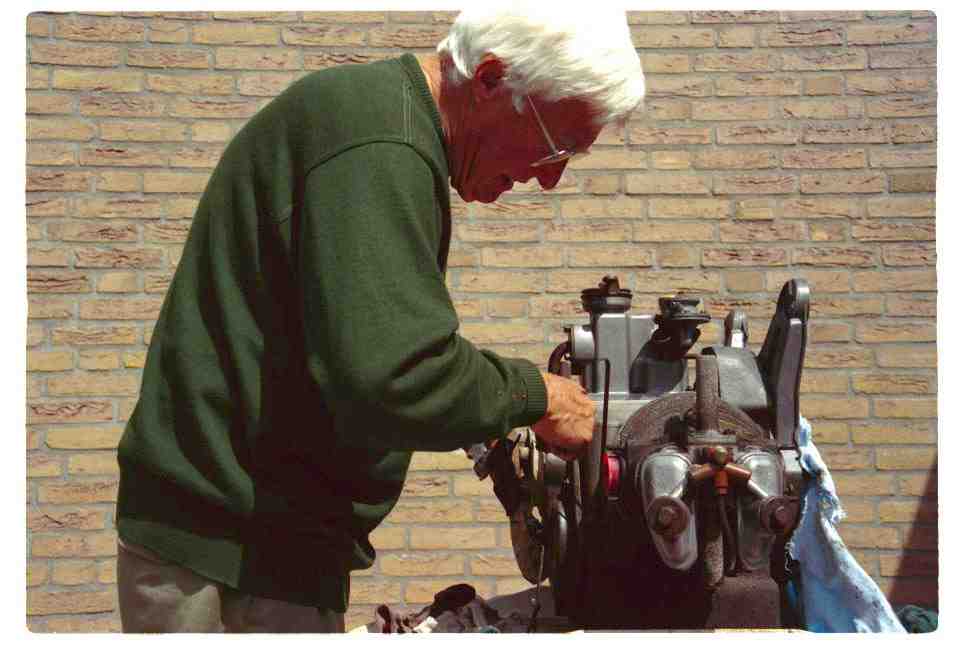
cleaning the engine with petrol
scraping the rust of the engine
valvepart of the engine
Jan enthusiastically cleaning the engine !
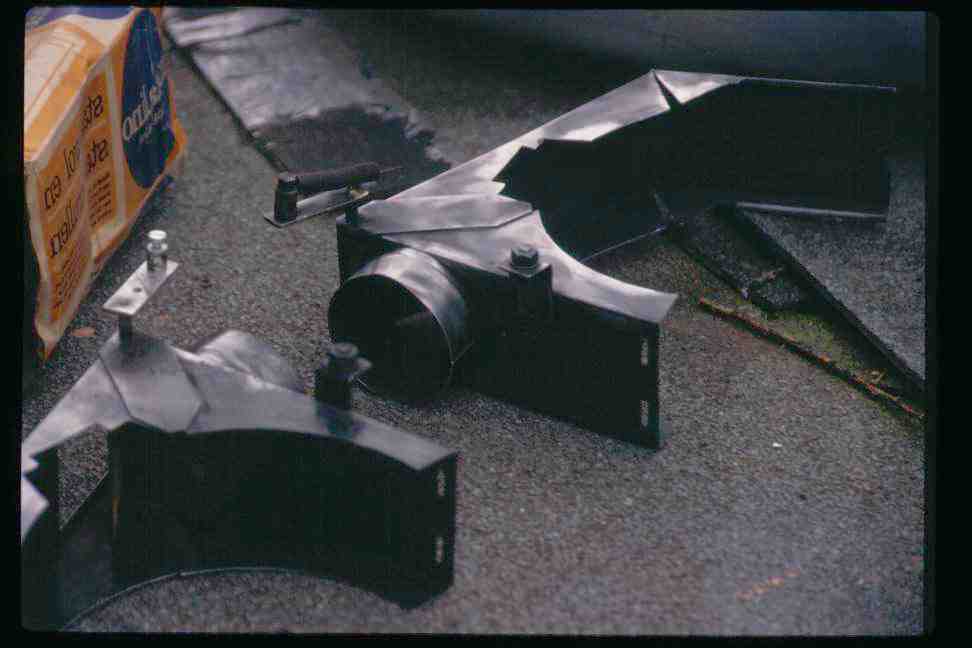
cyclinder heating boxes
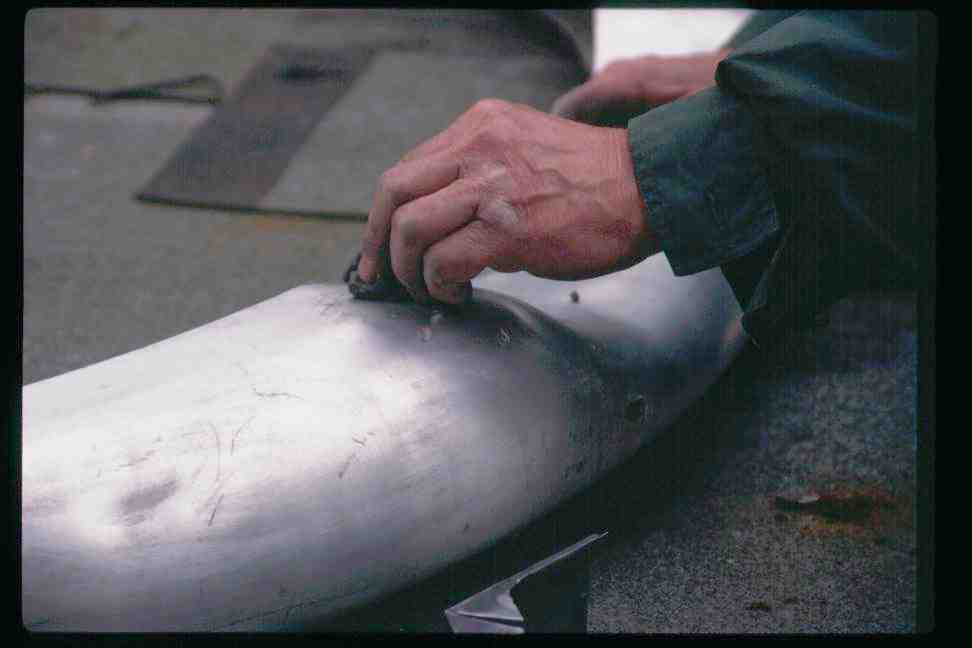
polishing the aluminium bumper with
steelwool (1)
polishing the aluminium bumper with steelwool
(2)
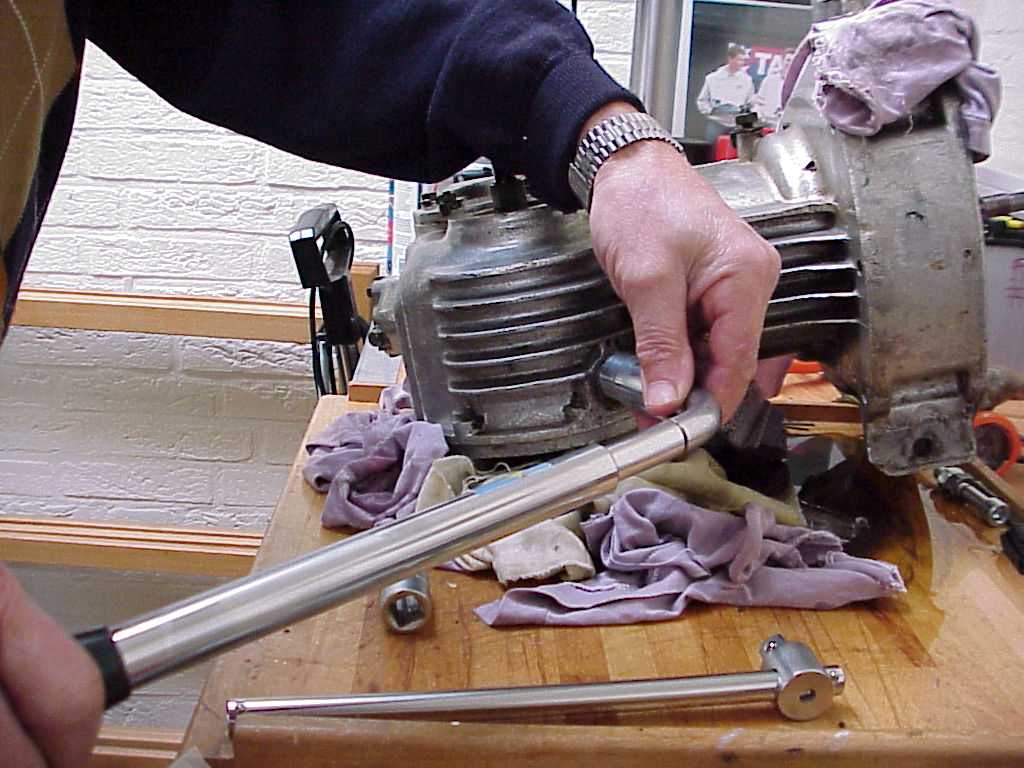
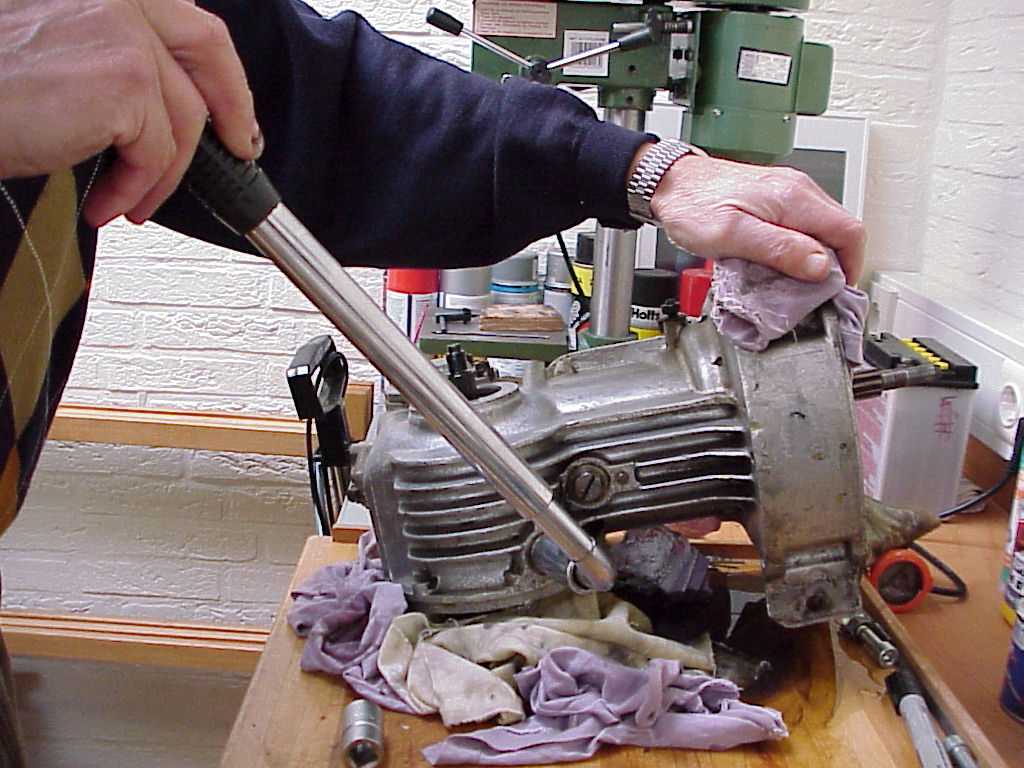
Our chief restorer is never
idle: the engine is almost completely dismantled ! Examination reveals no big
problems, but the main part is still not taken apart : the crankshaft, which
will be done in the next weeks...
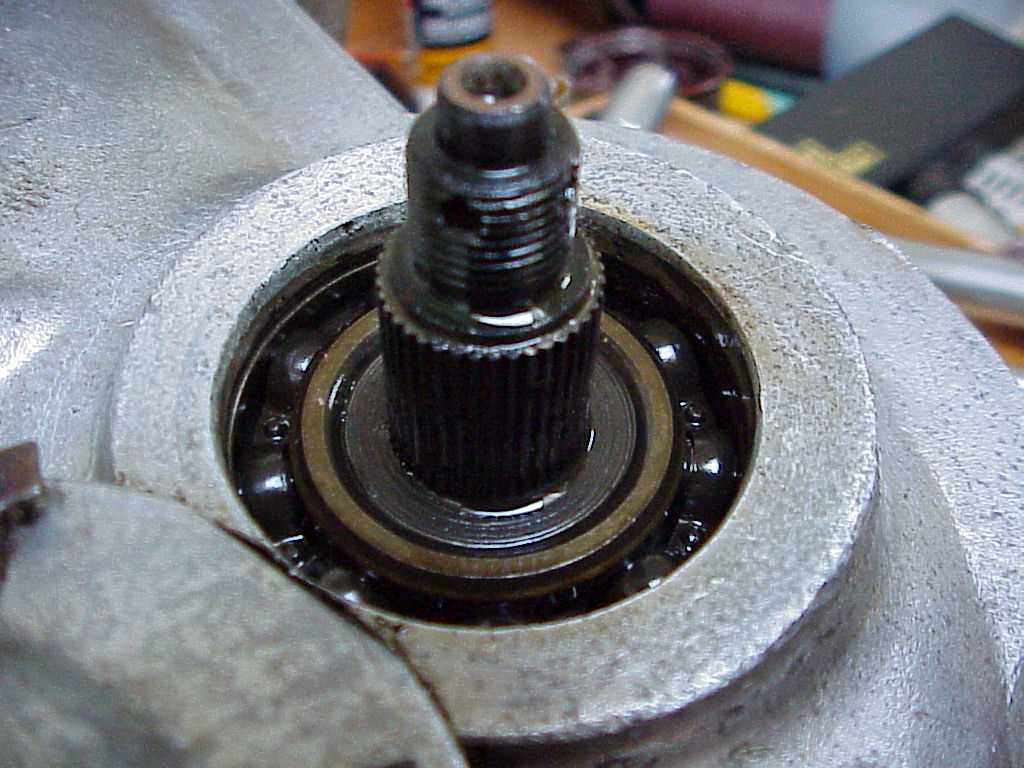
Marteen has spoiled himself
with a new digital camera : a sony mavica FD91 !
All pictures are shot in the highest resolution: 1024x768, quality setting:
high, with F8.
All the pics are straight from the camera, not enhanced. (except: 02 engine
side)
The webmaster apologize for the high level of compression that spoil the great
work of Marteen....
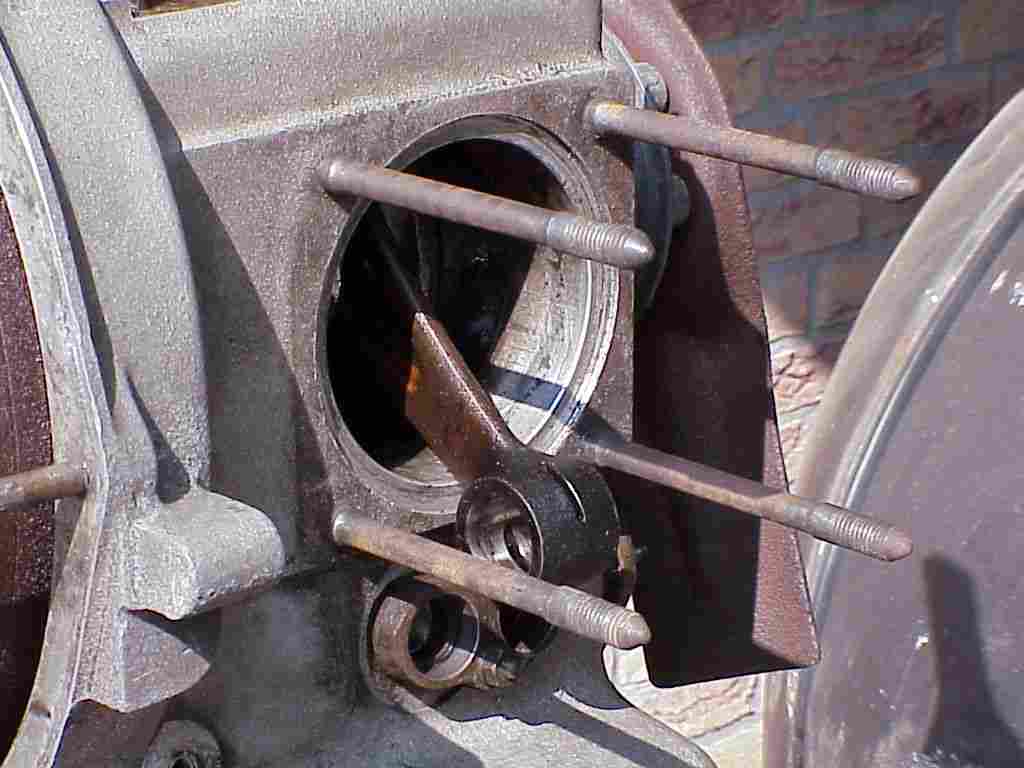
cleaning the cylinder
side view of engine block
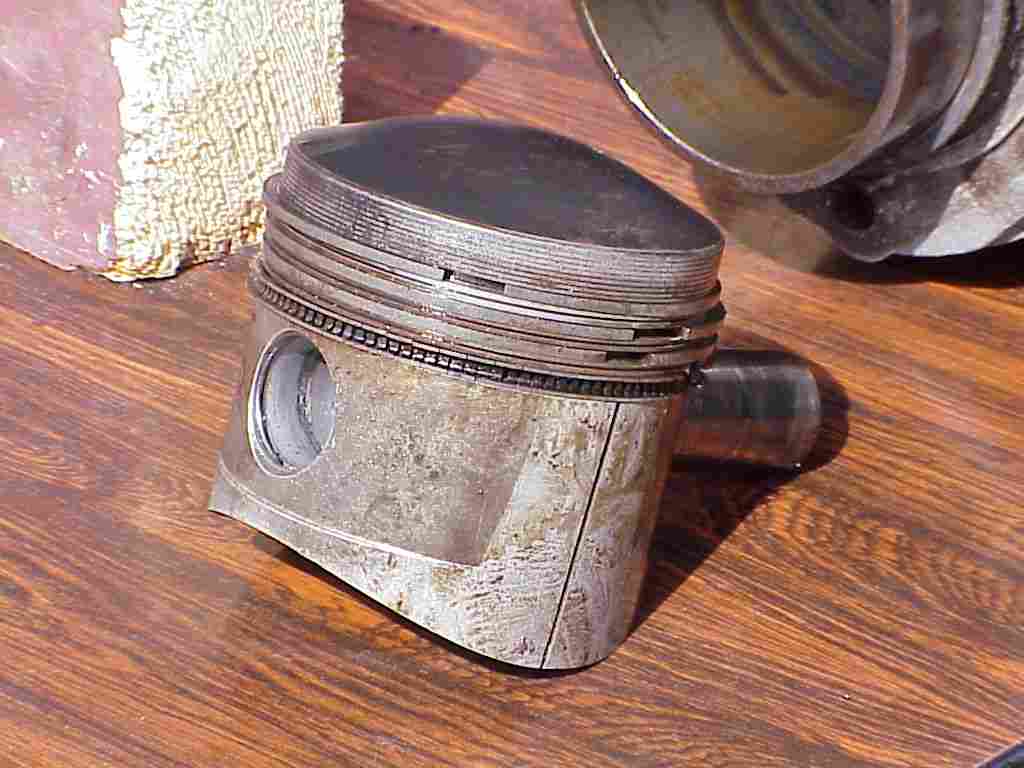
connecting rod detail
piston
cylinder side view
inside the cylinder
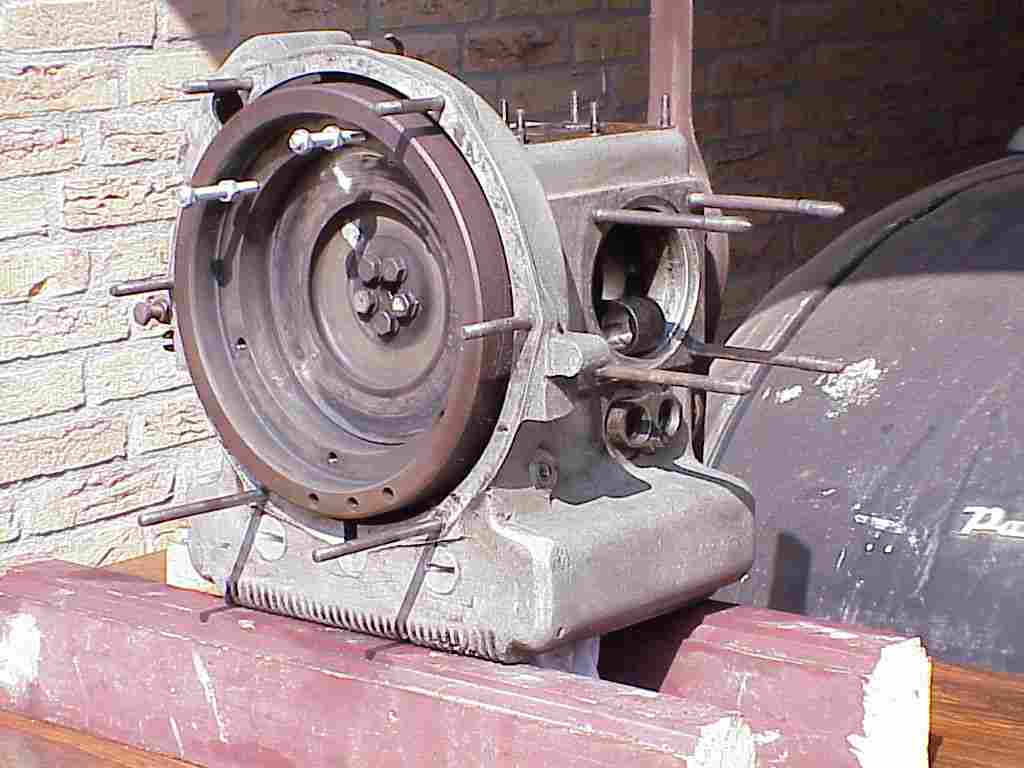
engine
flywheel removed
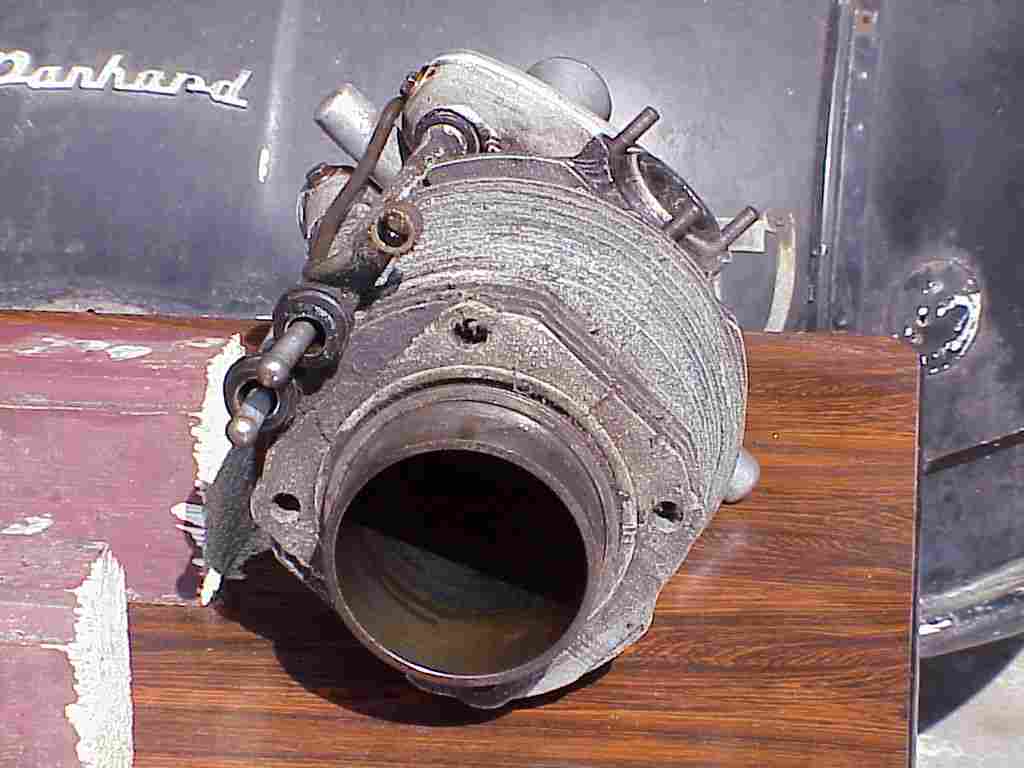
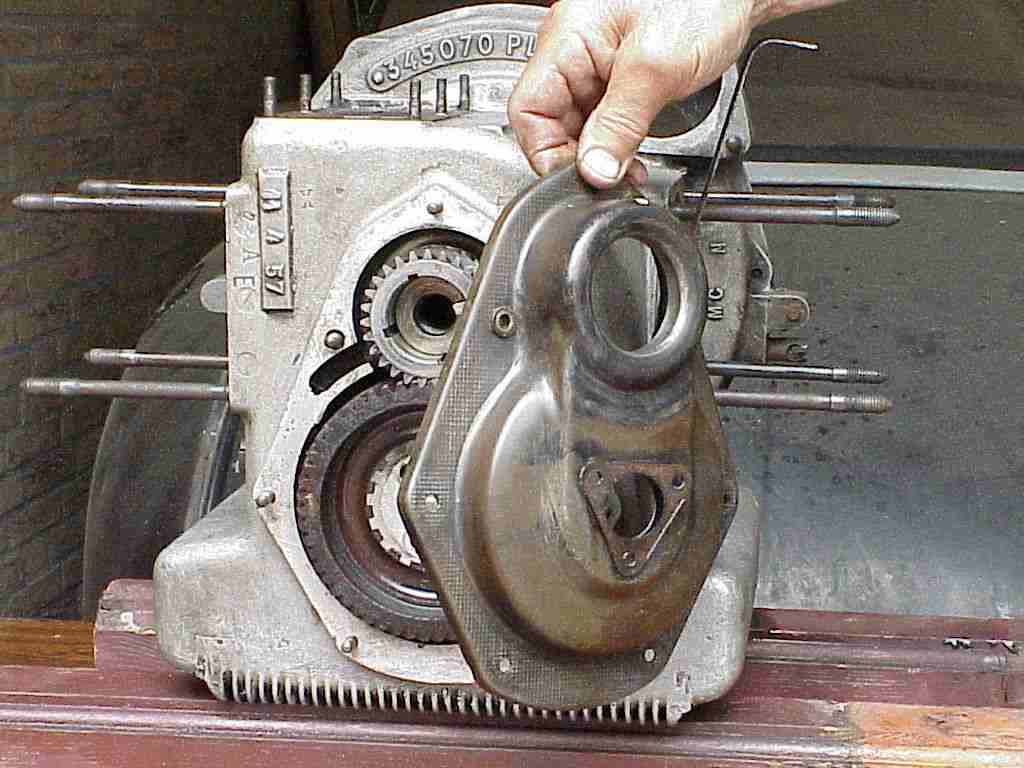
timing cover removed
front of the engine with cover
removed
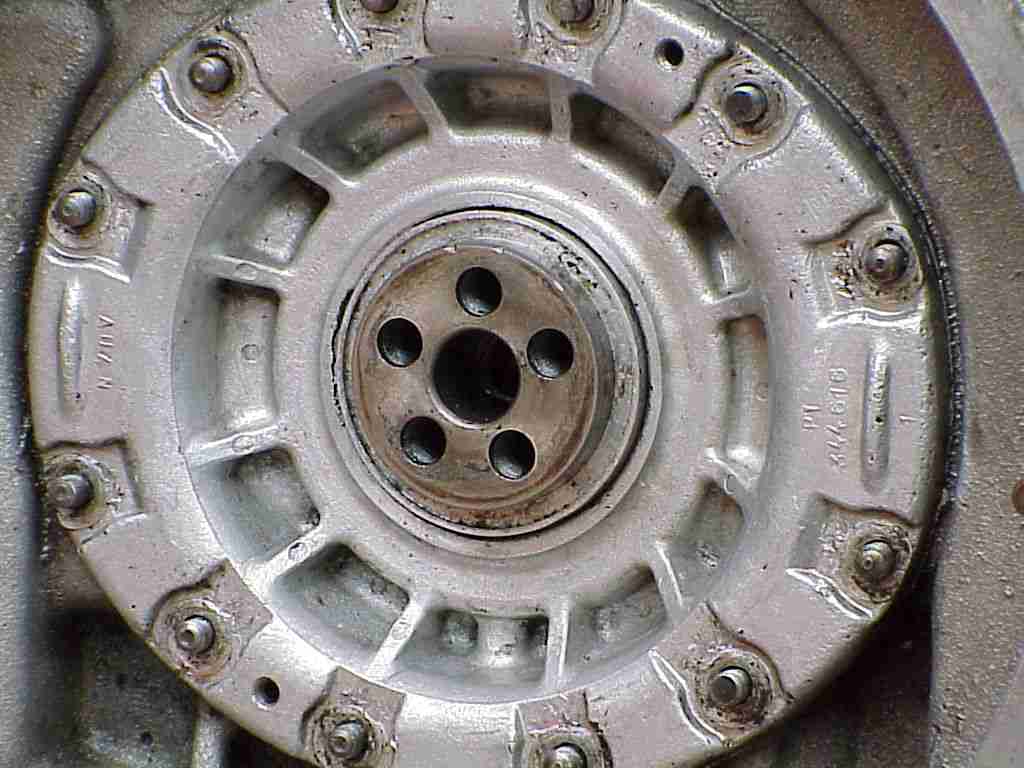
flywheel !
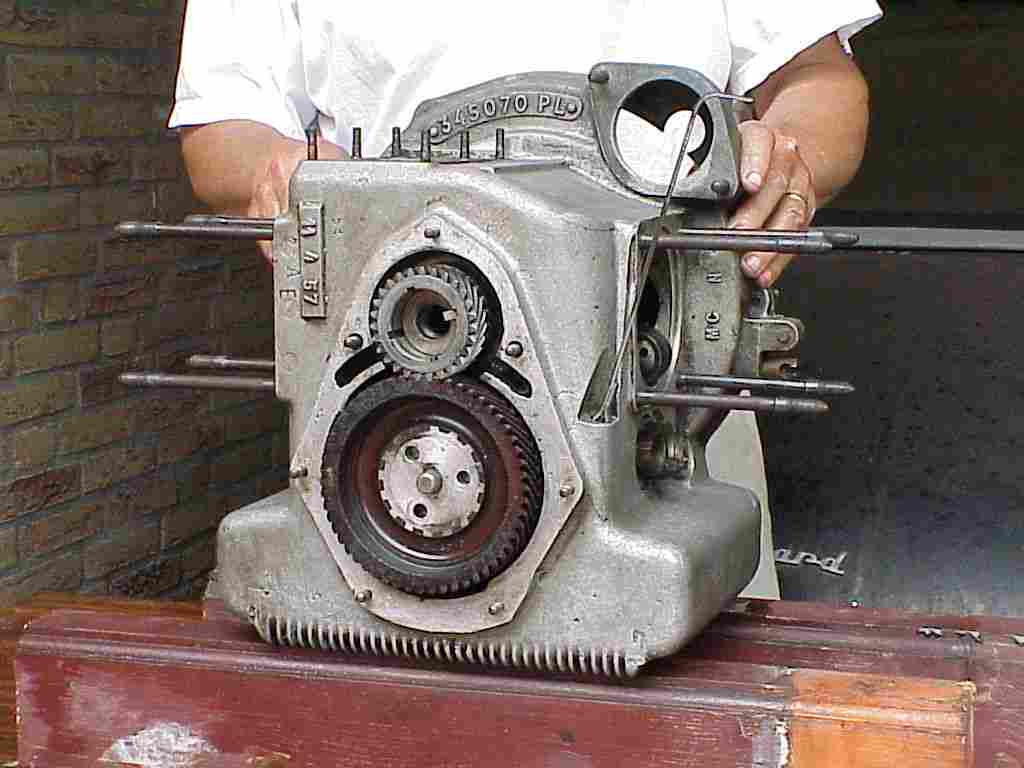
close-up from the engine with flywheel removed
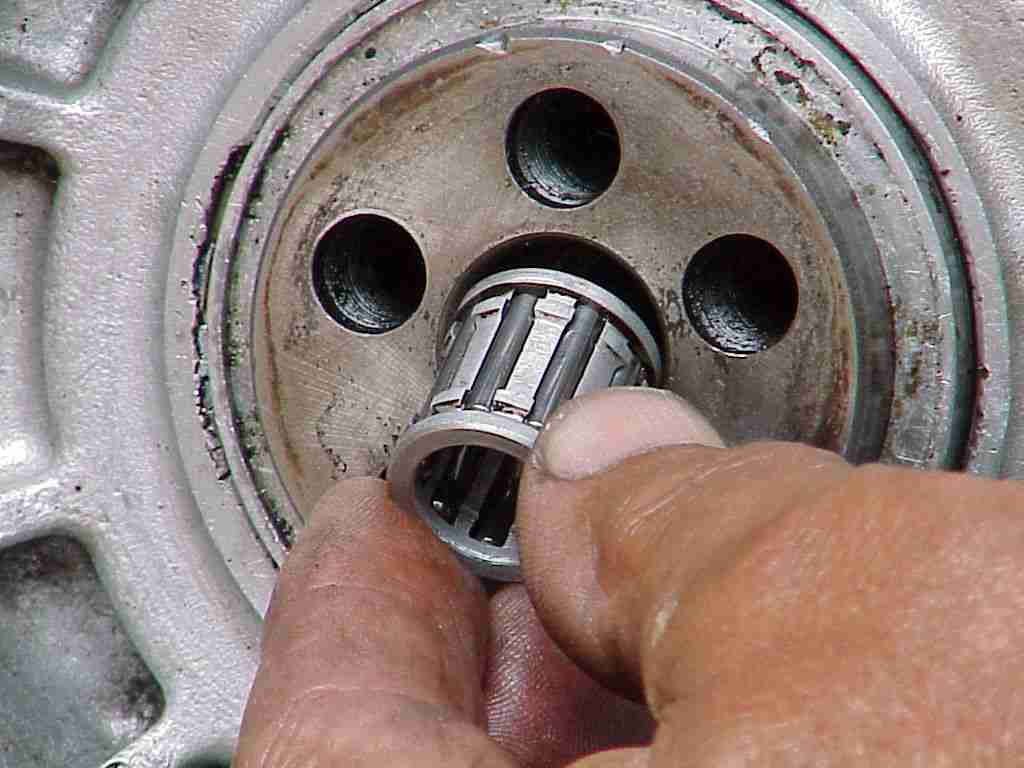
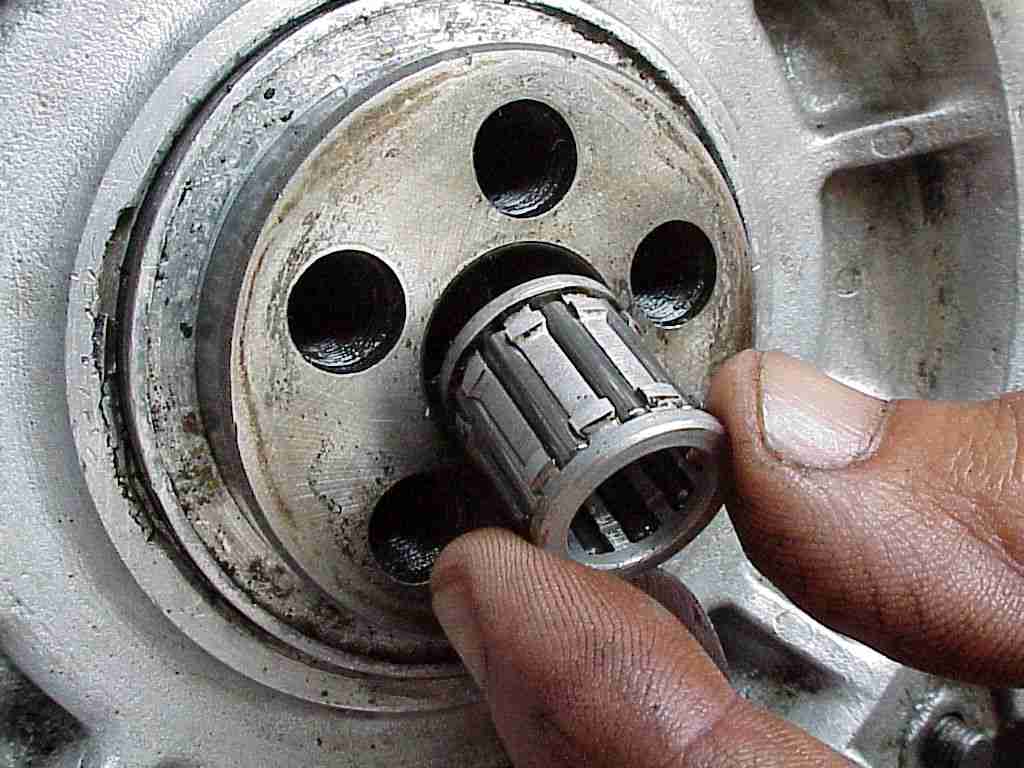
gearbox axle needle-bearing (shot
with 14x optical zoom)
gearbox axle needle-bearing (shot
5cm from object in wide setting)
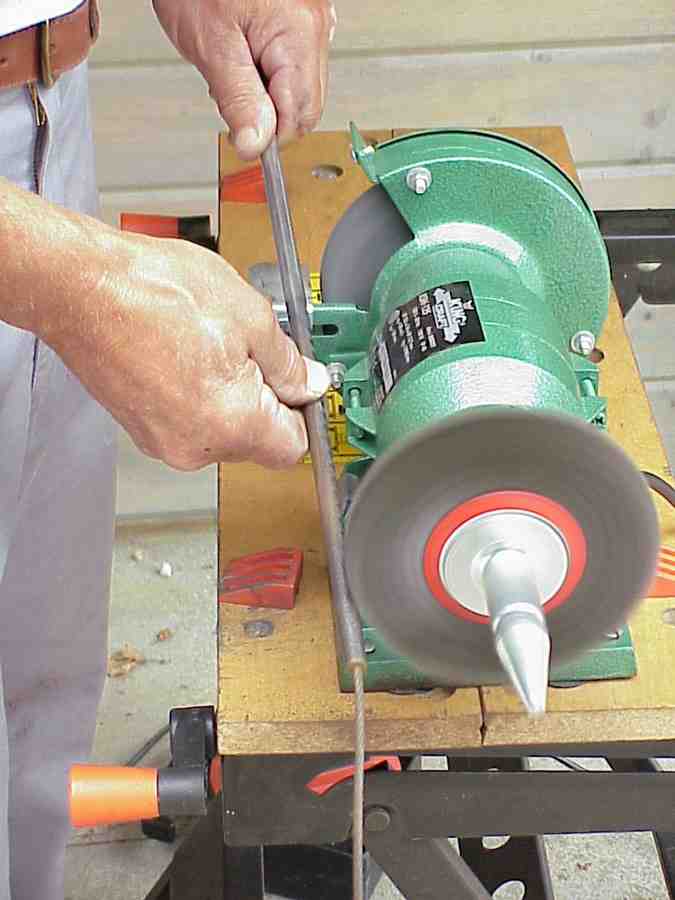
July
1999 : On the restoration again ...
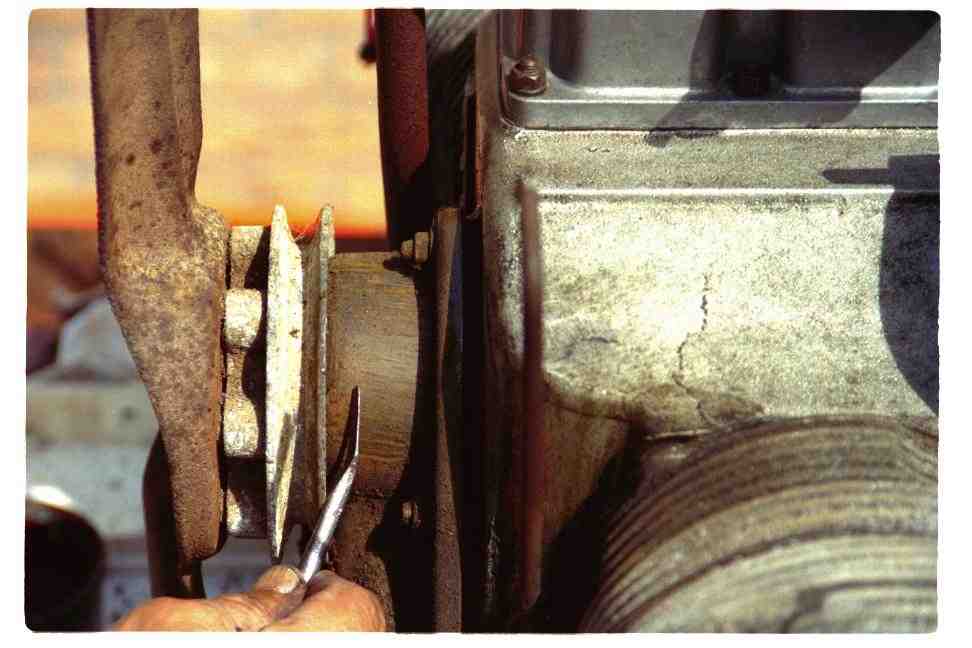
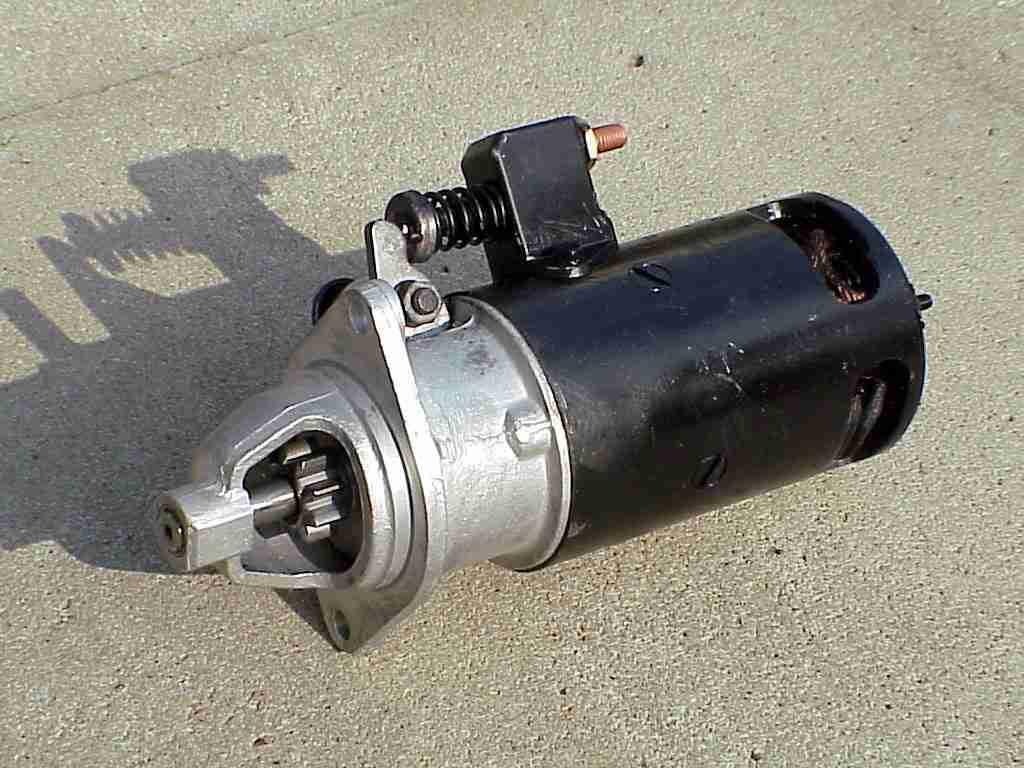
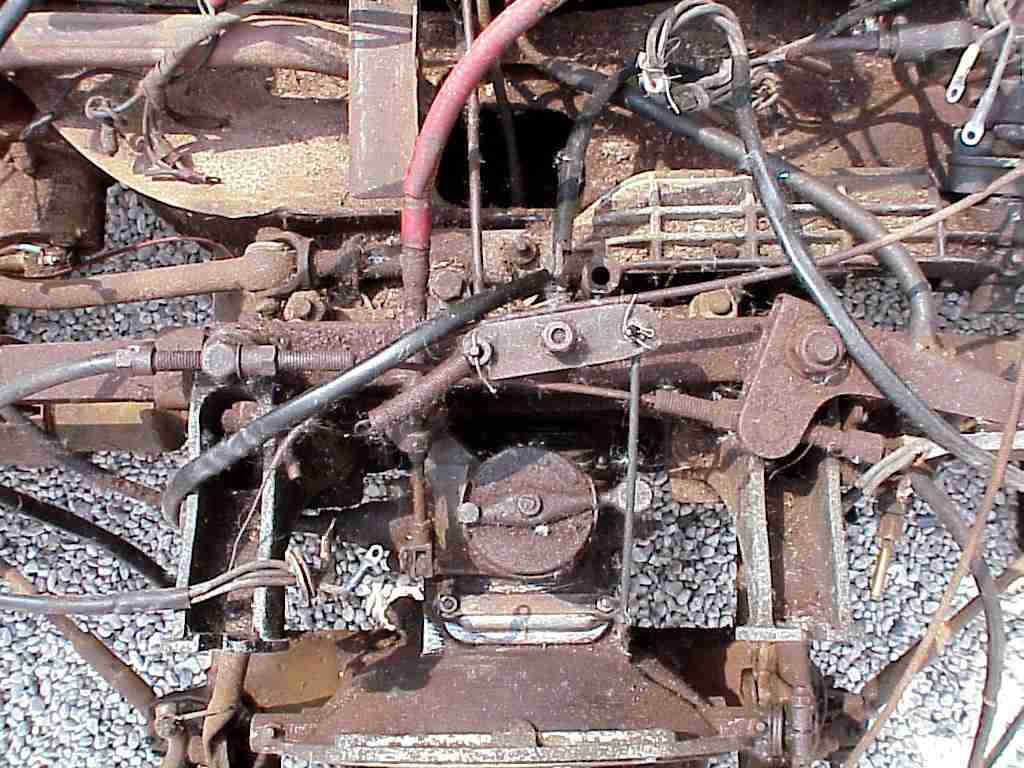
What does Jan do for his
holidays ?? he works on his panhard !! Never tired, he has already restored the
starter motor, and is now getting rid off the rust on the front subframe,
cleaning the crankshaft and restoring the carburator : good work Jan !
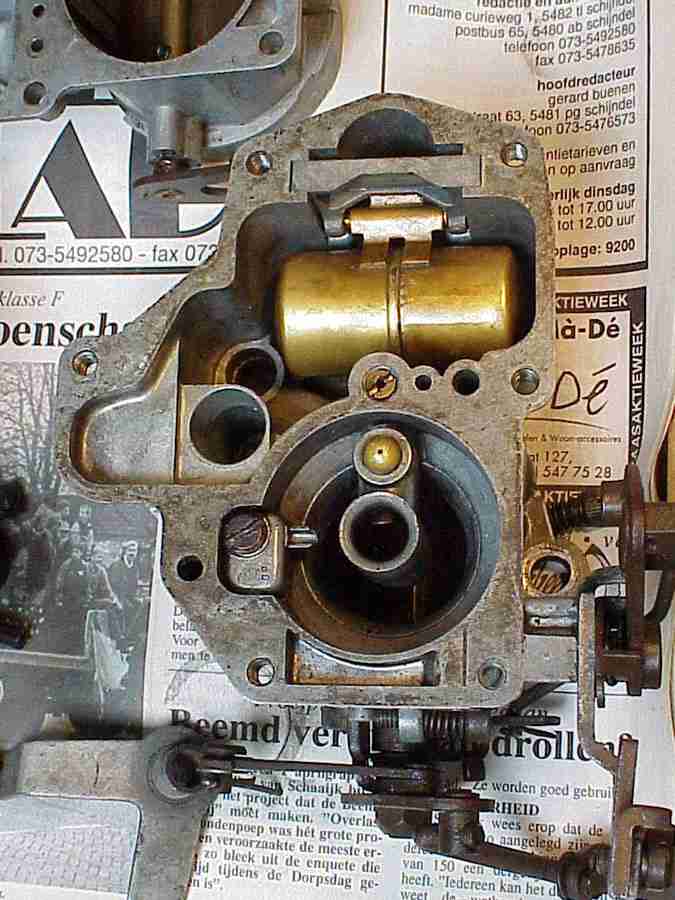
carburator: inside view, one part has to be
changed
cleaning the crankshaft with a needle (very
important !)
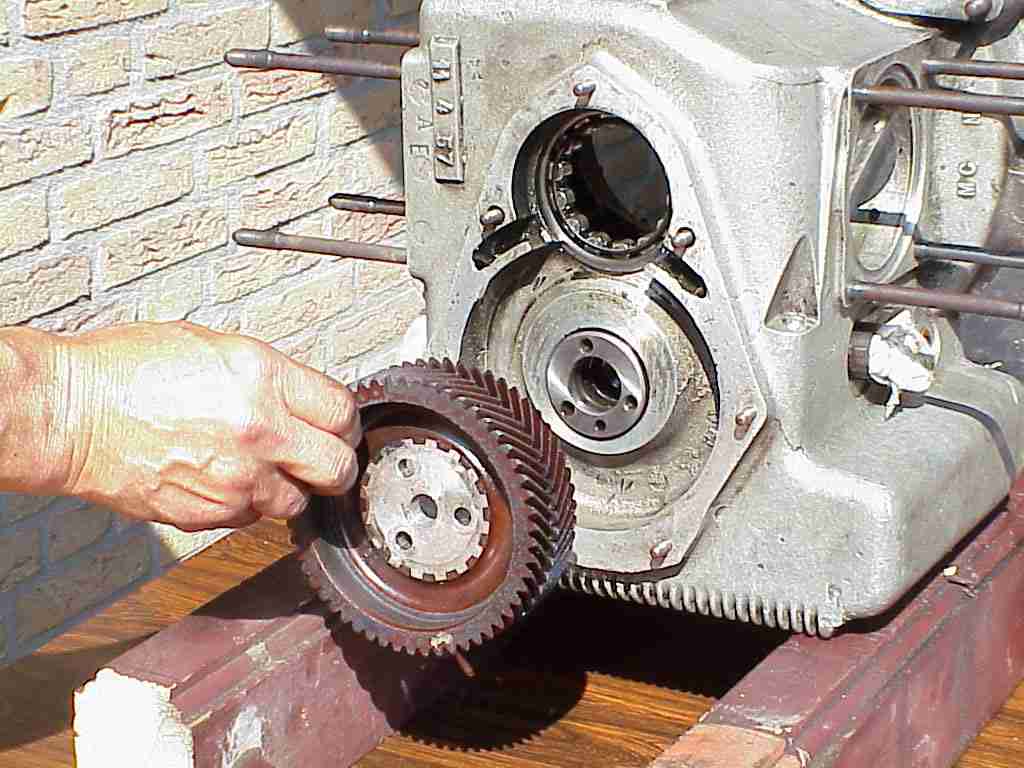
crankshaft timing gear in excellent condition
dashboard: to restore during the winter period
close up front of the car
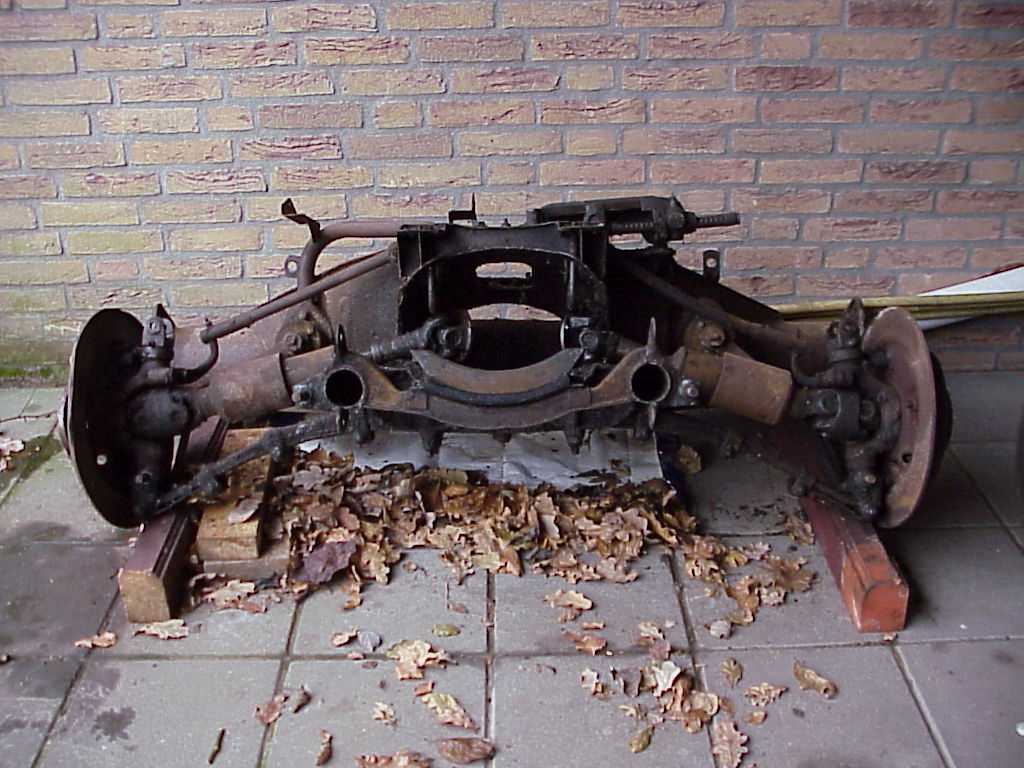
the car is getting shorter and
shorter
timing gear: this gear will be replaced by a
dural aluminium gear (important)
cleaning the sub-frame (action photo)
completely revised engine starter
topview of steering mechanism and hand brake :
still some work to do !
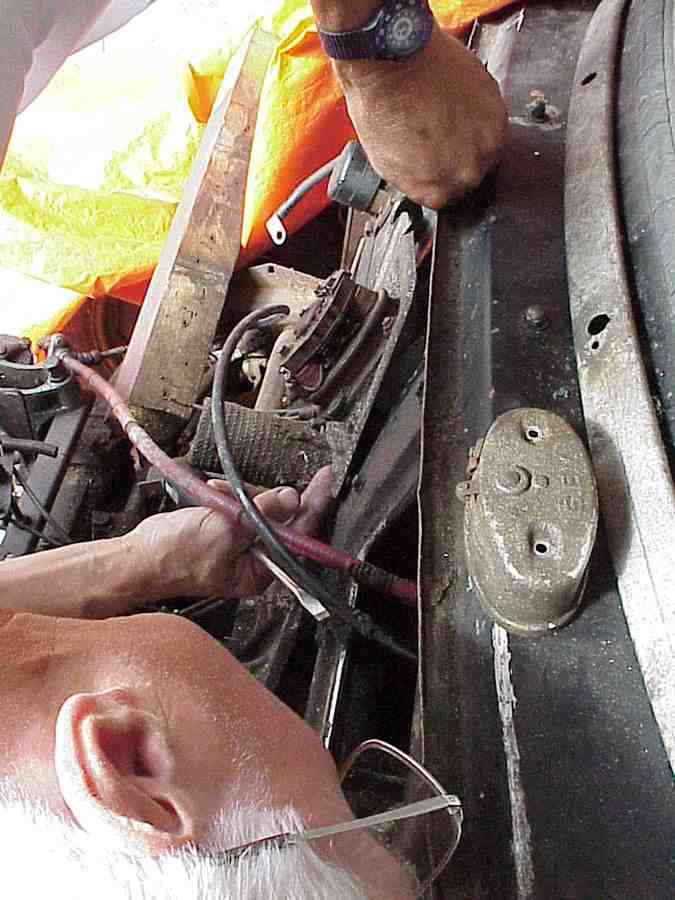
Jan : mister rust-buster
himself in action !
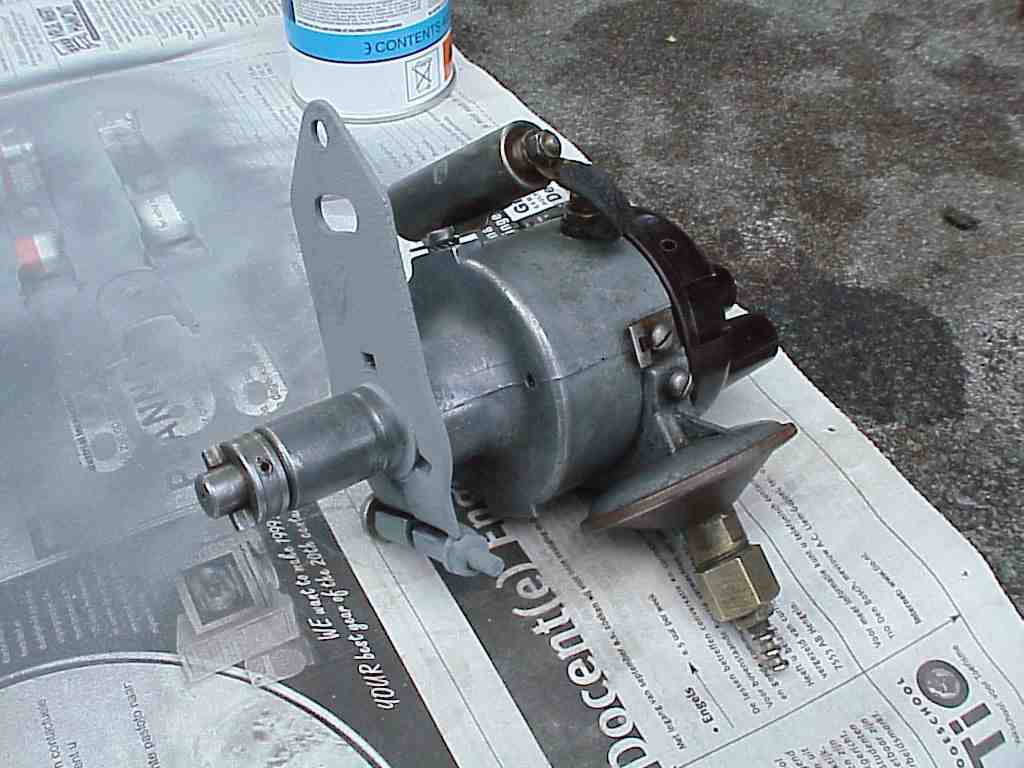
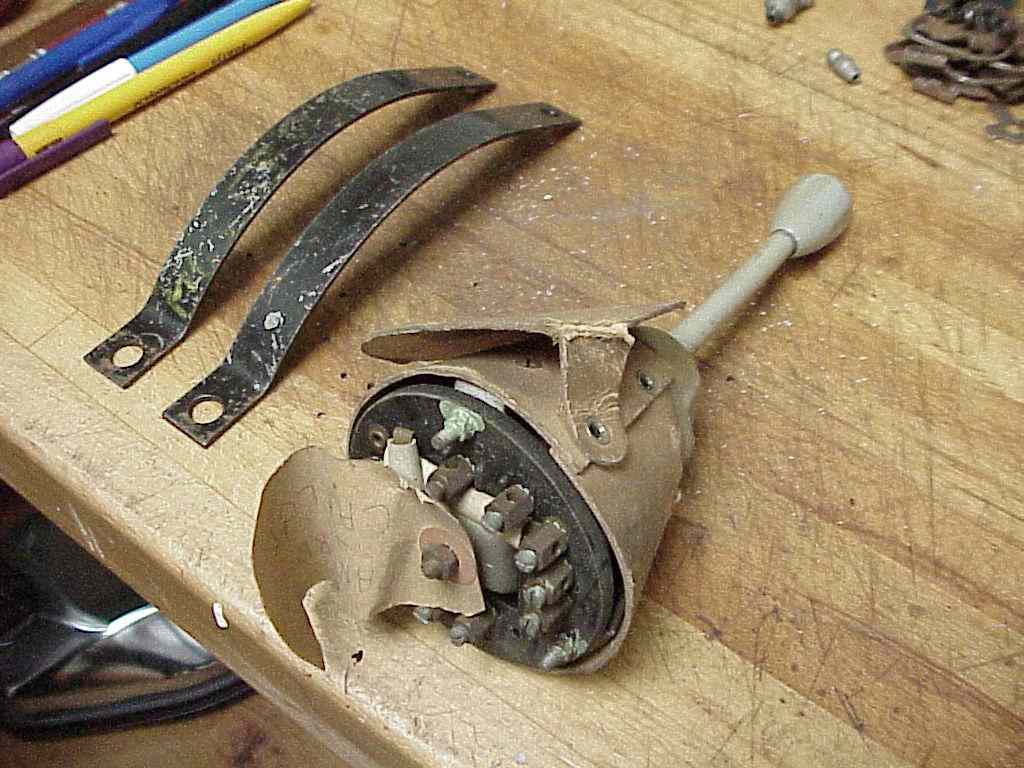
August
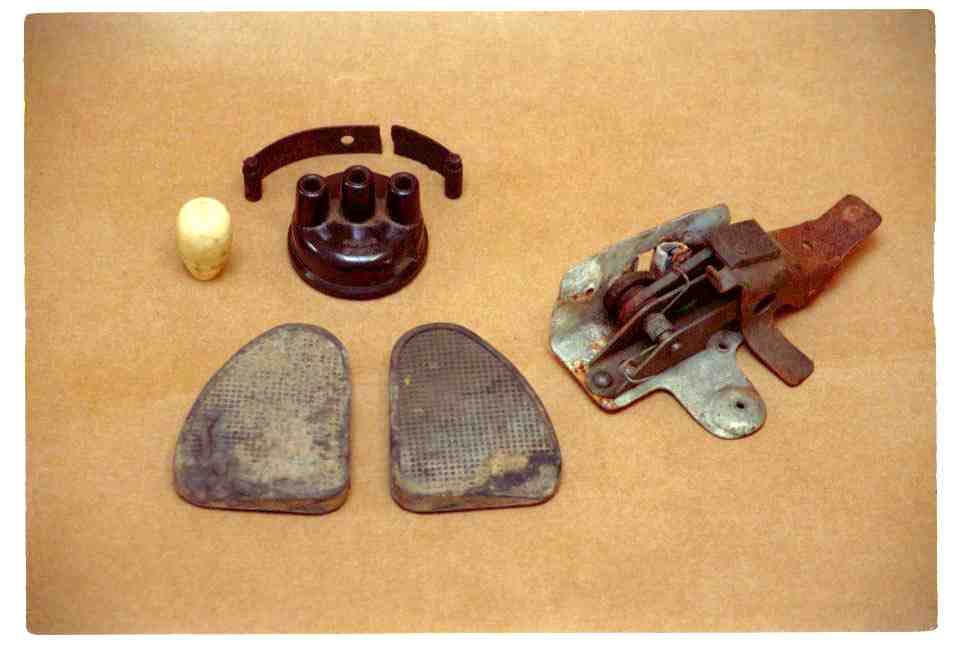
1999 : windshield washer mechanism
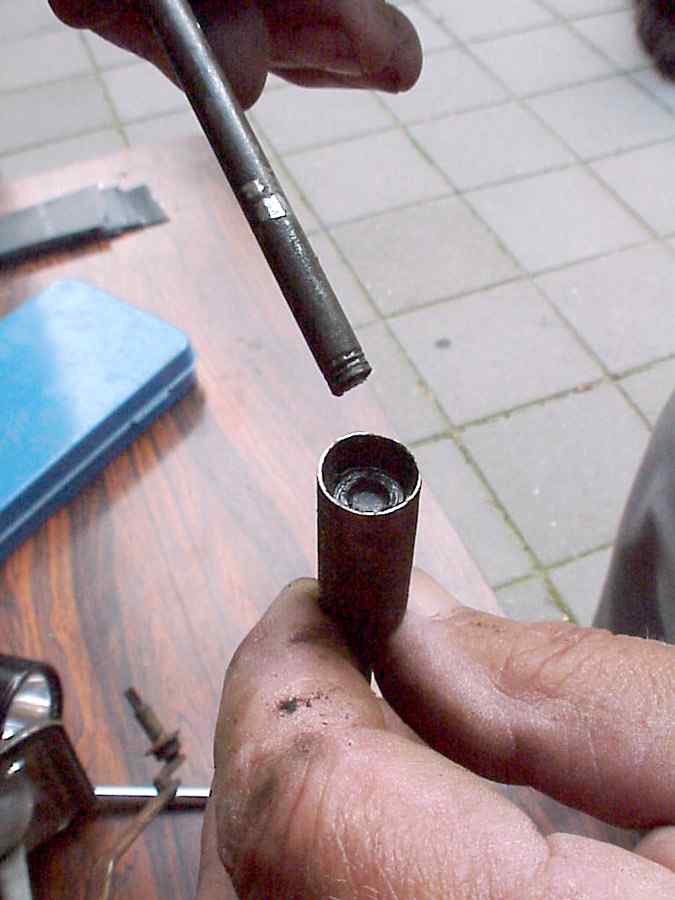
Dismantle of the windshield
washer mechanism and his motor: something seems to resist, and finaly the axle
breaks; the broken axle (threaded part) should be extracted. Some other
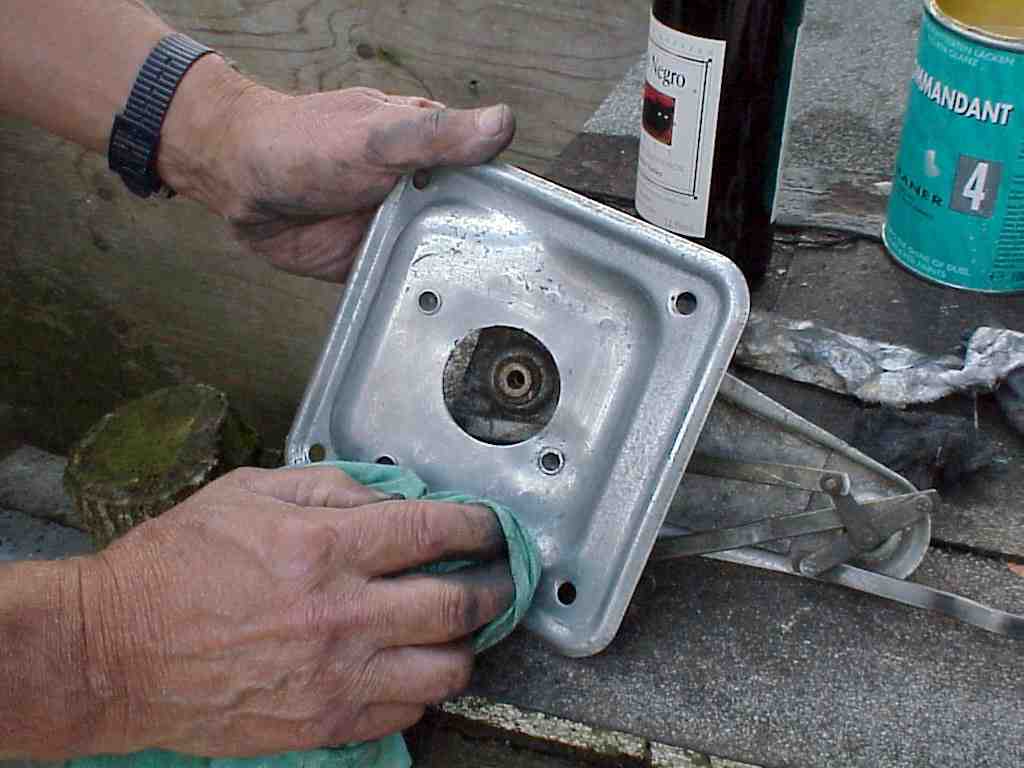
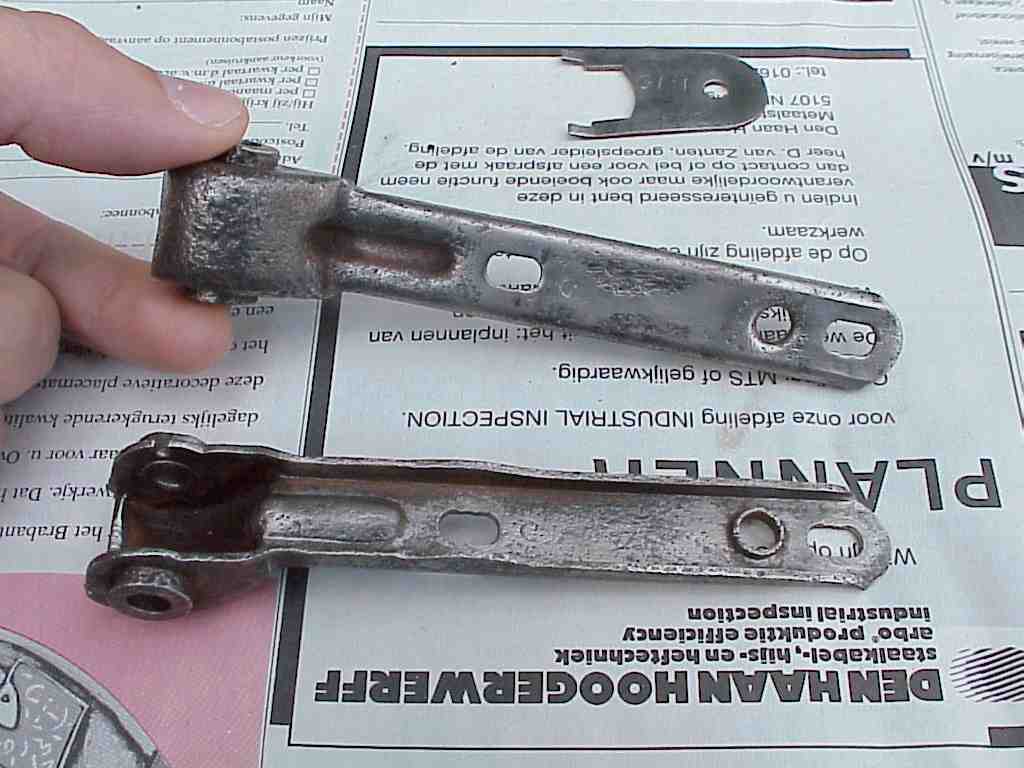
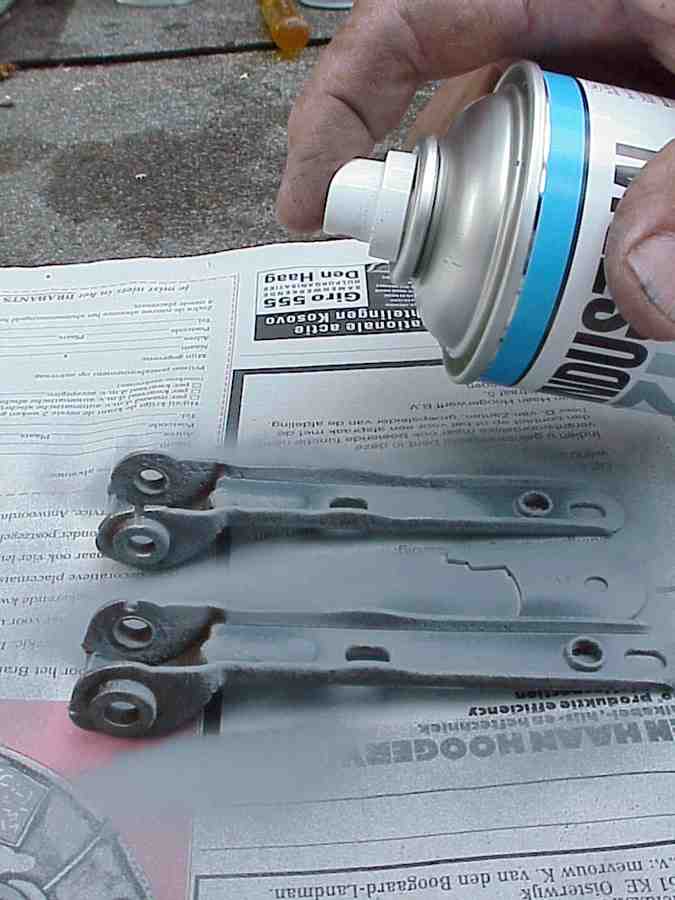
metallic parts are unrusted : door handles basis plates and handbrake
handle.
winshield washer system dismantle (1)
winshield washer system dismantle (2)
what's wrong with this washer mechanism ?
what is going on in there ??
is it for today or for tomorrow ?
it finally did come off !
motor on the left , mechanism on the
right
axle broke at dismantling
threaded part of axle extraction
cleaning the plate of the mechanism
door handles basis plates (closeup)
door handles basis plate given some zinc spray
ignition system restored
unrusting the handbrake handle (1)
unrusting the handbrake handle (2)
The parts that have been
dismantled are being restored or bought when it is possible if the original
part is not restorable.
Admire the impressive restoration of the window mechanism to compare to the original : original mechanism.
The succes of all
restoration depends on a minimum of order and method, and Jan knows this for
sure, as he labels and stores carefully each
dismantled part !
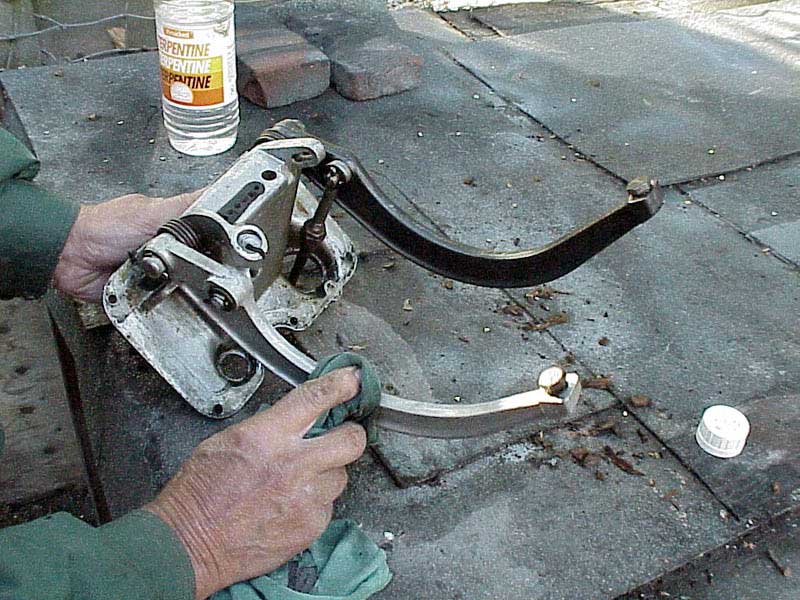
The difference between a
quick restauration and a "concours" restauration can be seen in
details, sometimes invisible details !
By the way, take a look to the way the pedal mechanism and the gas filter have been restored !
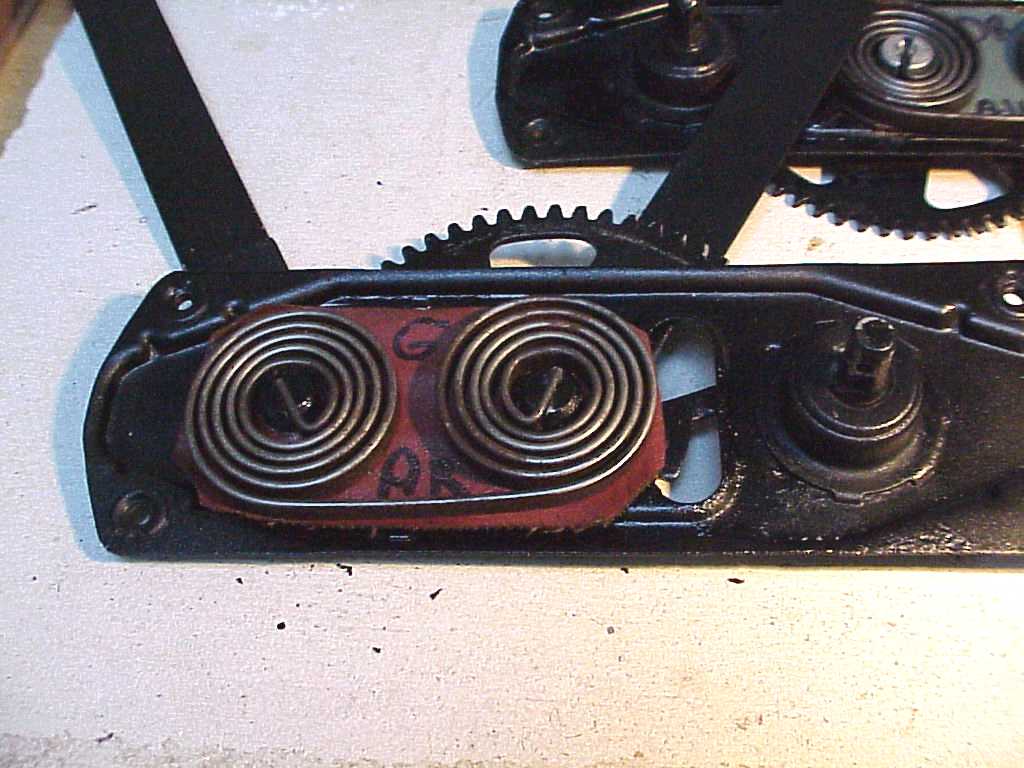
A little information for
the curious : The logo "M" on the pedal mechanism is the mark of the Montupet foundry, with
which Panhard was working since the manufacturing of the aluminium parts of the
Dyna X
Here is the complete list
of the pictures taken this month :
unrusting the hood base
looking for the right spring
labelling and storing parts
polishing the pedal base
window mechanism restored
detail of the pedal base
new headlight bought at "Villers en
Gauchies"
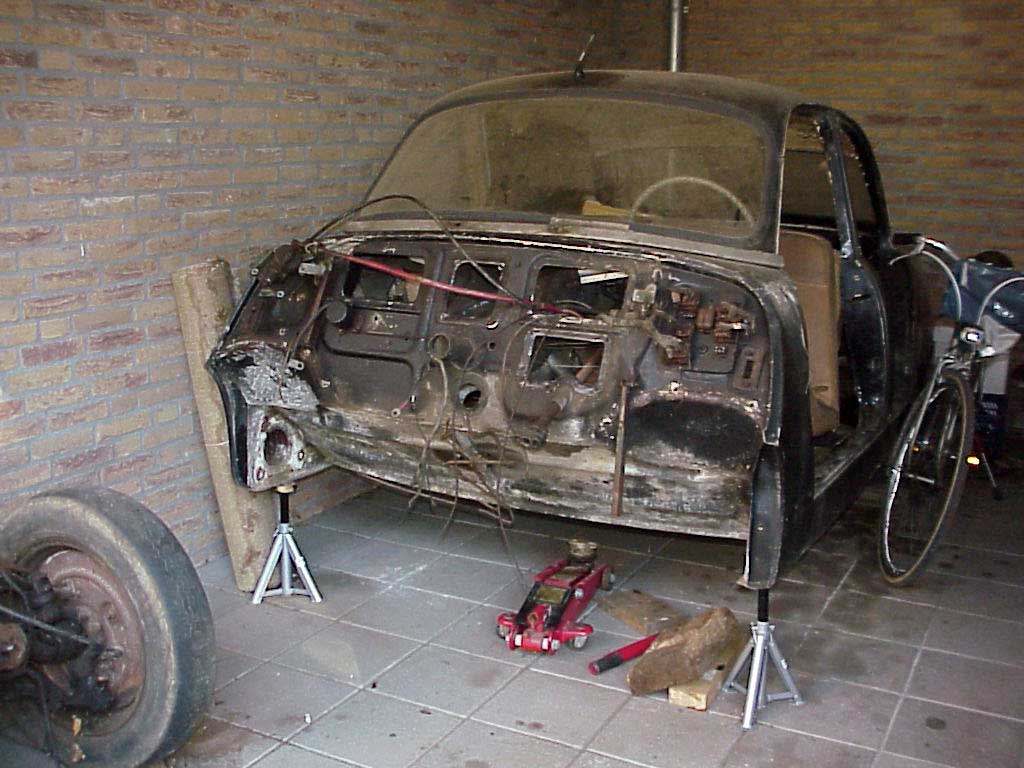
front suspension apart from the rest of the car
the car after one year of restoration
gas filter looking brand new !
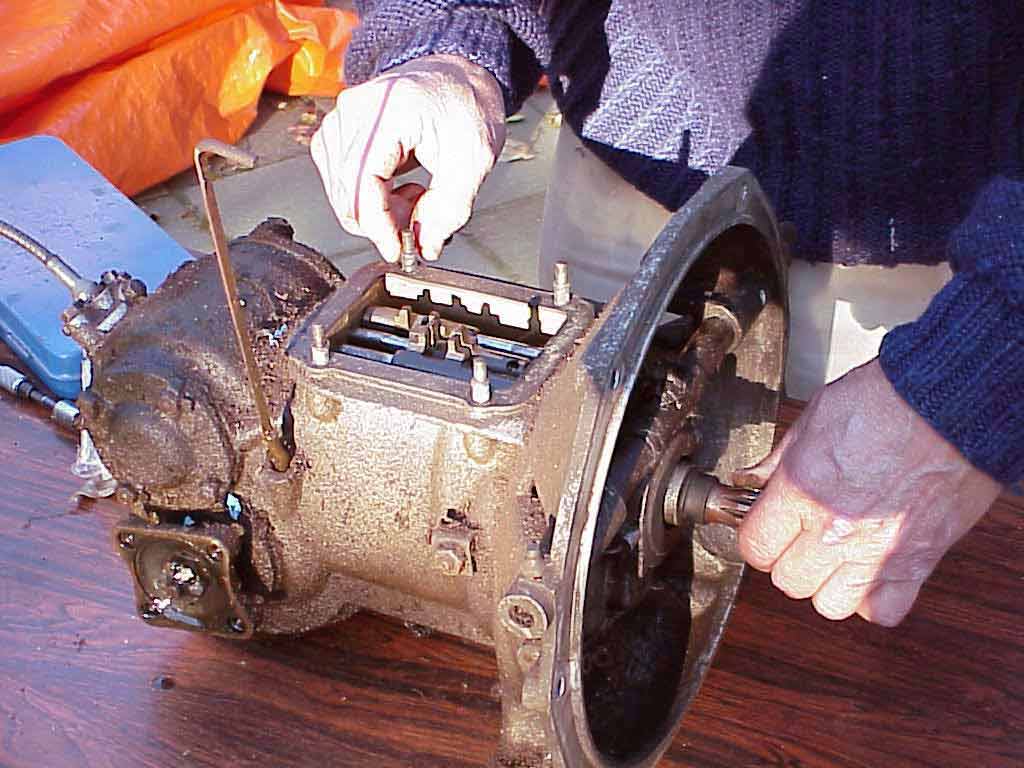
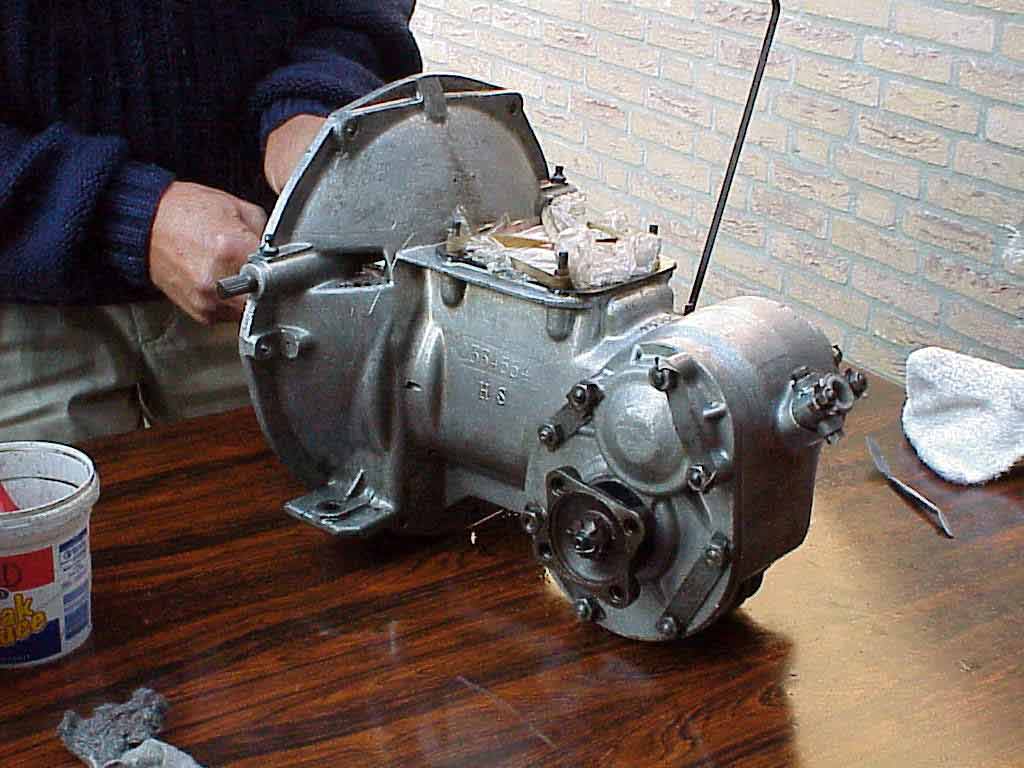
Jan is now restoring the
gearbox, starting with a good clean:
BEFORE:
gearbox, dirty sideview 1
gearbox, dirty topview
gearbox, dirty sideview 2
AFTER:
gearbox, cleaned sideview
gearbox, cleaned front view 1
gearbox, cleaned top view
gearbox, cleaned front view 2
gearbox, cleaned bottom view
Jan cleaning his gearbox
Other parts are also
cleaned, sanded or changed:
front break
aluminium engine support
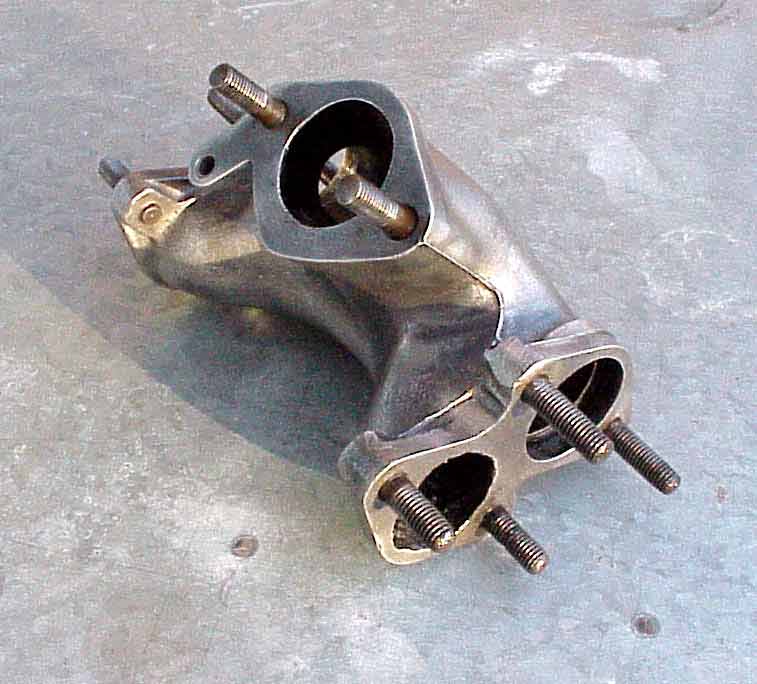
alluminium fuel intake
misc. (hand break, spring axles, etc...)
intake tube and flanges
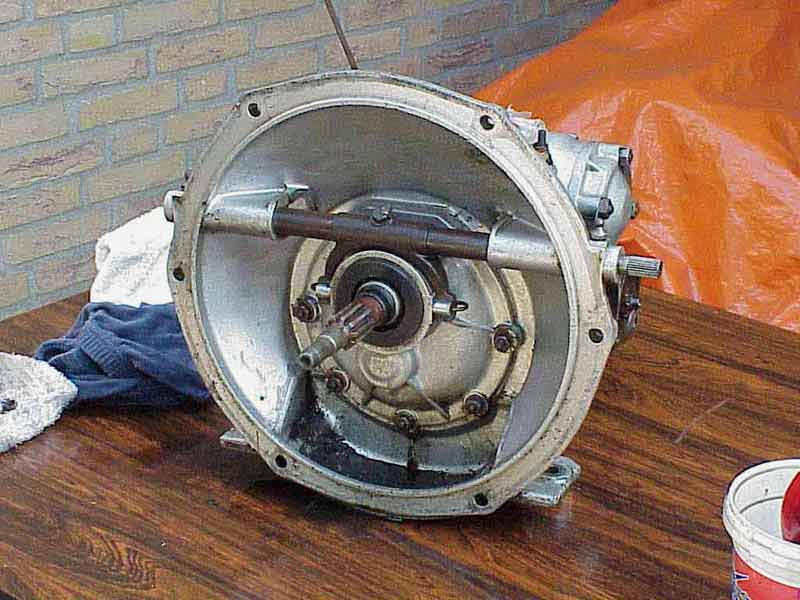
The gearbox is drained. Then
it is dismantled.
Release of the drain cap 1
Release of the drain cap 2
close-up of the cap 1
close-up of the cap 2
cap cleaned
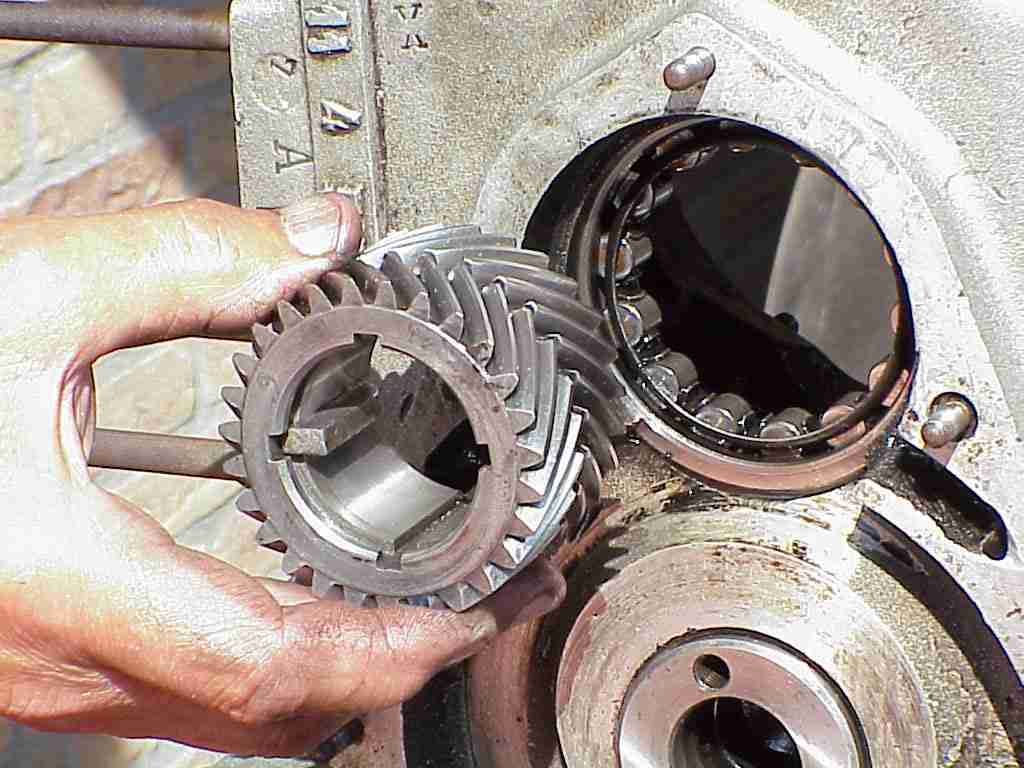
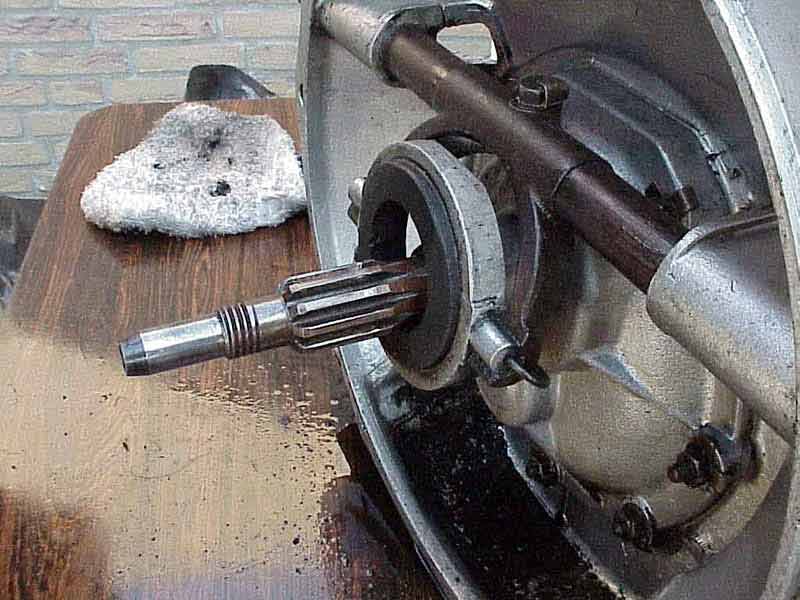
gearbox outlet (to drive shaft)
gearbox outlet (detail)
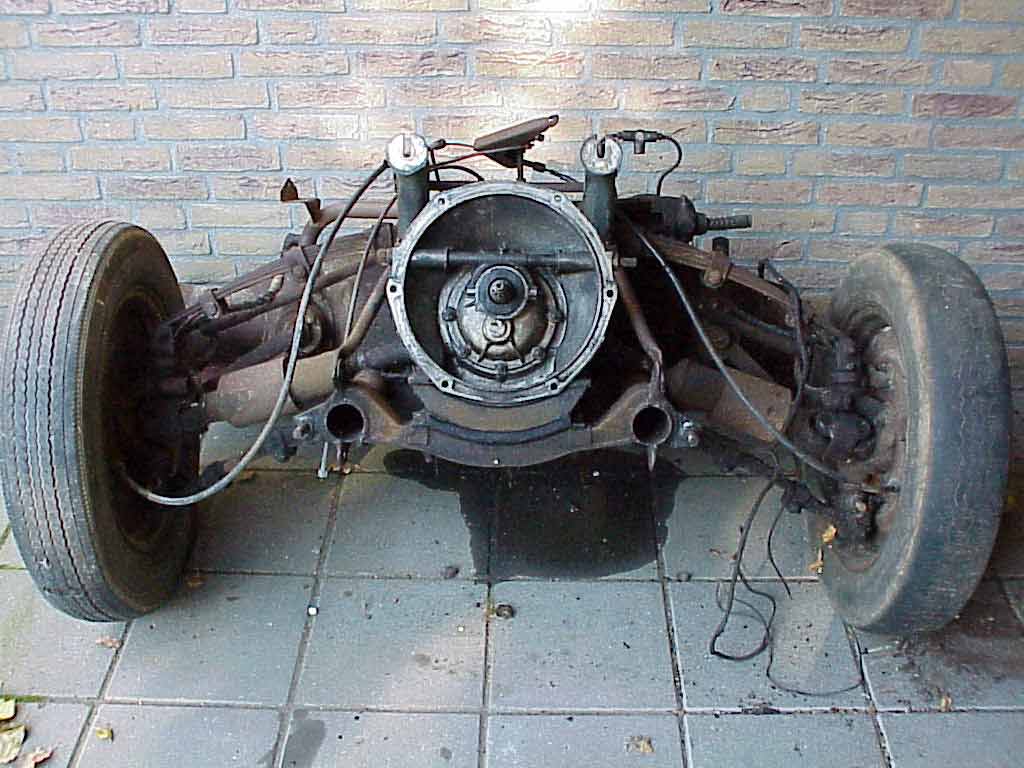
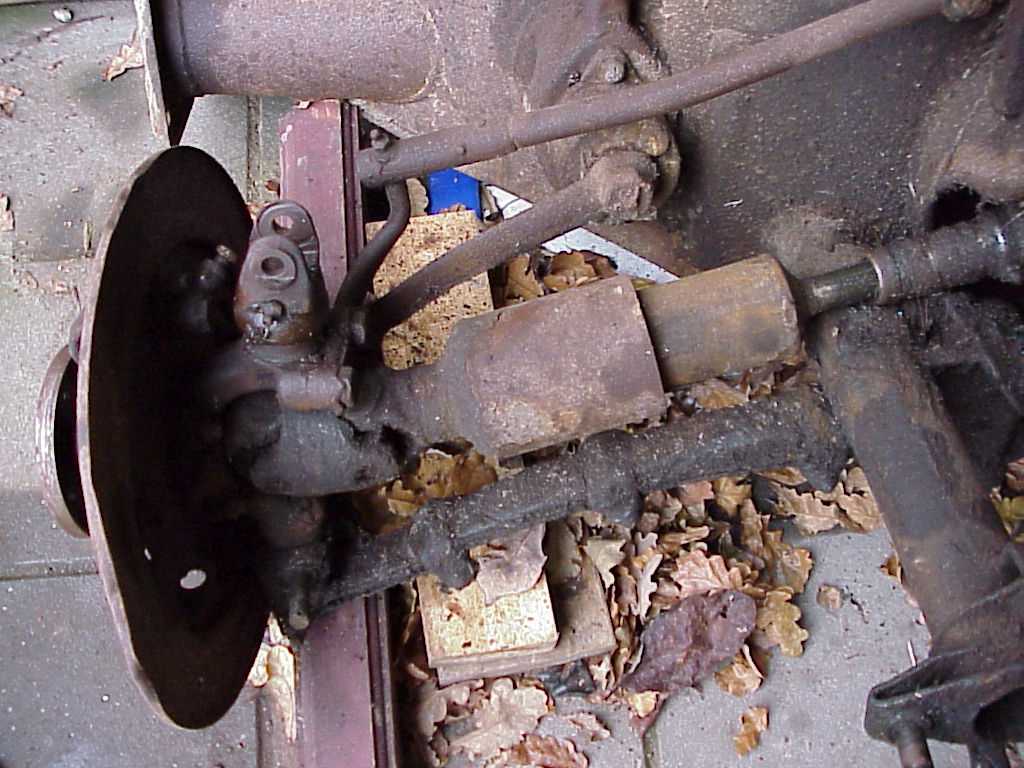
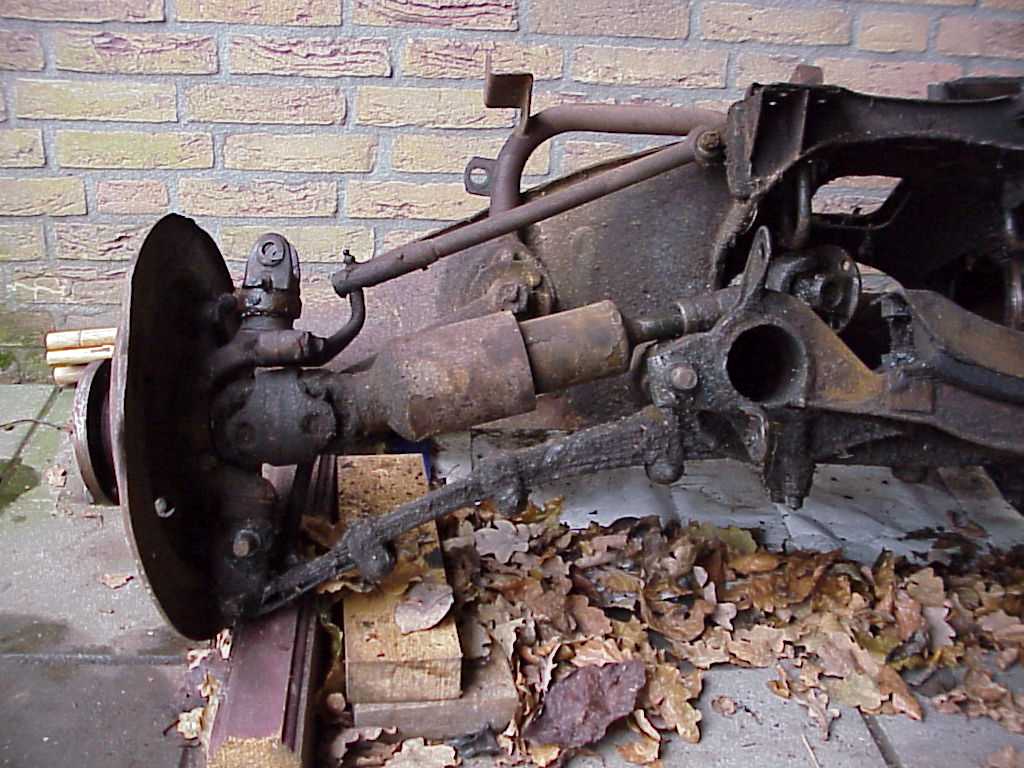
Some pictures of the front
suspension are taken before its restauration. (you will see the same parts
after restoration in the next episode...)
Front suspension, without springs
right propeller shaft 1
right propeller shaft 2
left propeller shaft
wheel flask
left pivot 1
left pivot 2
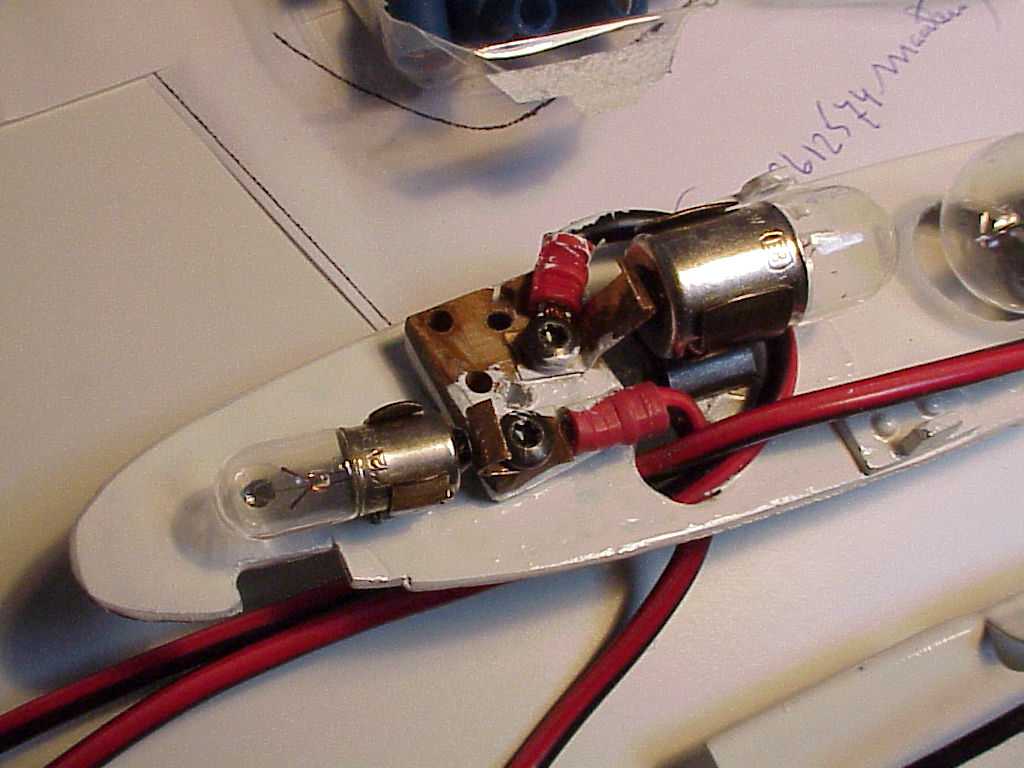
Jan carry on with the
restauration of the electrical parts (indicator lights)
indicators
indicators (detail 1)
indicators (detail 2)
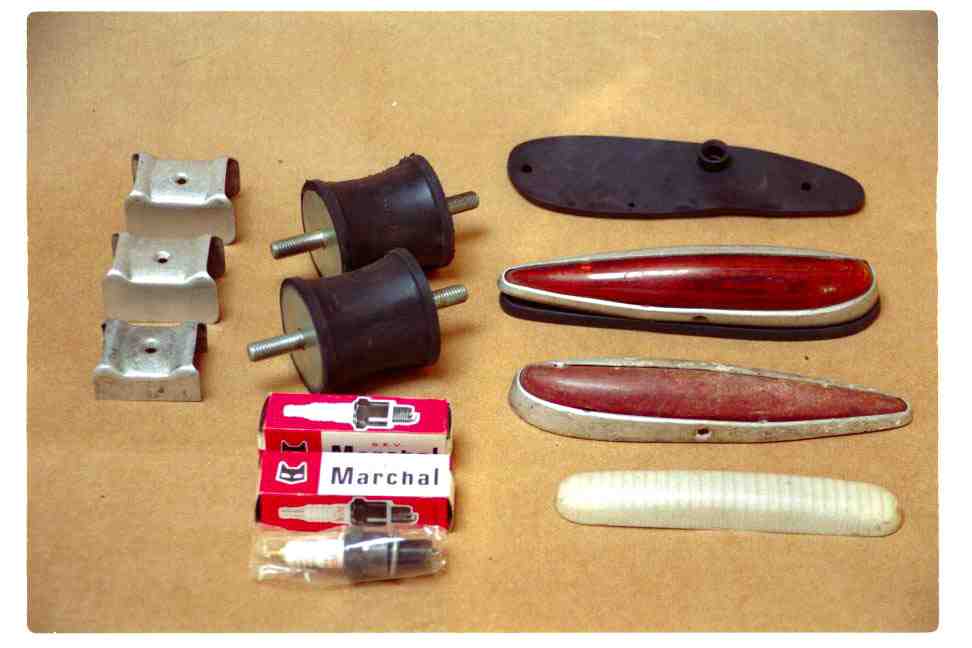
Some parts have been
purchased :
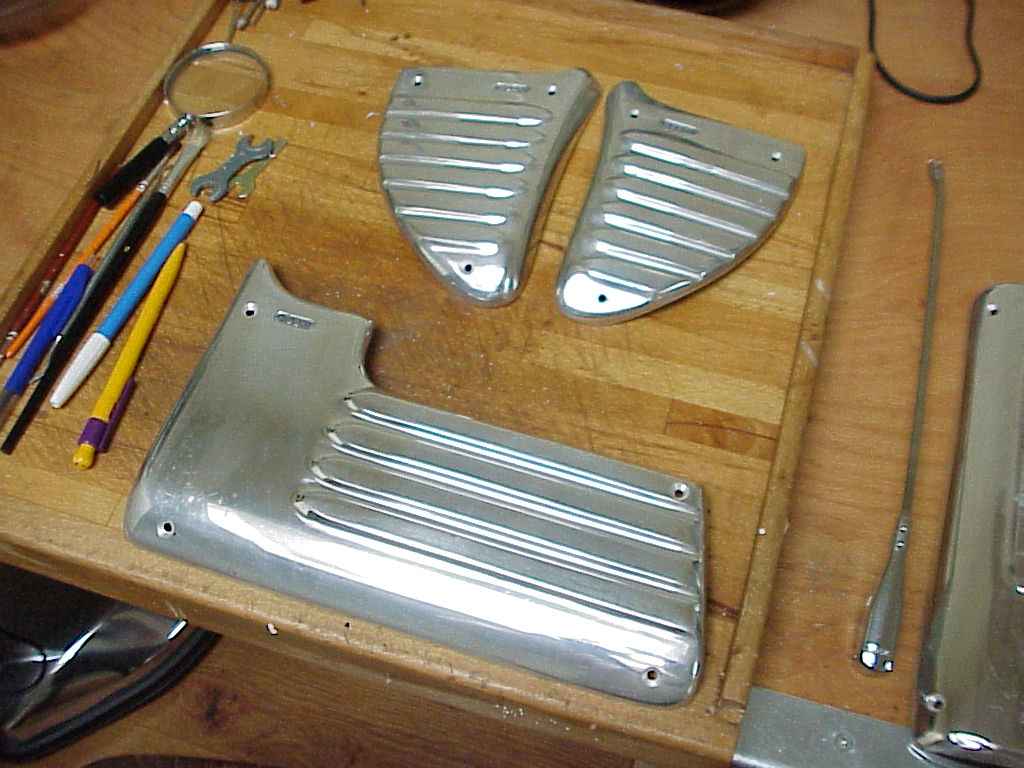
Robri aluminium parts.
Robril detail
Commodo (grey on Z1)
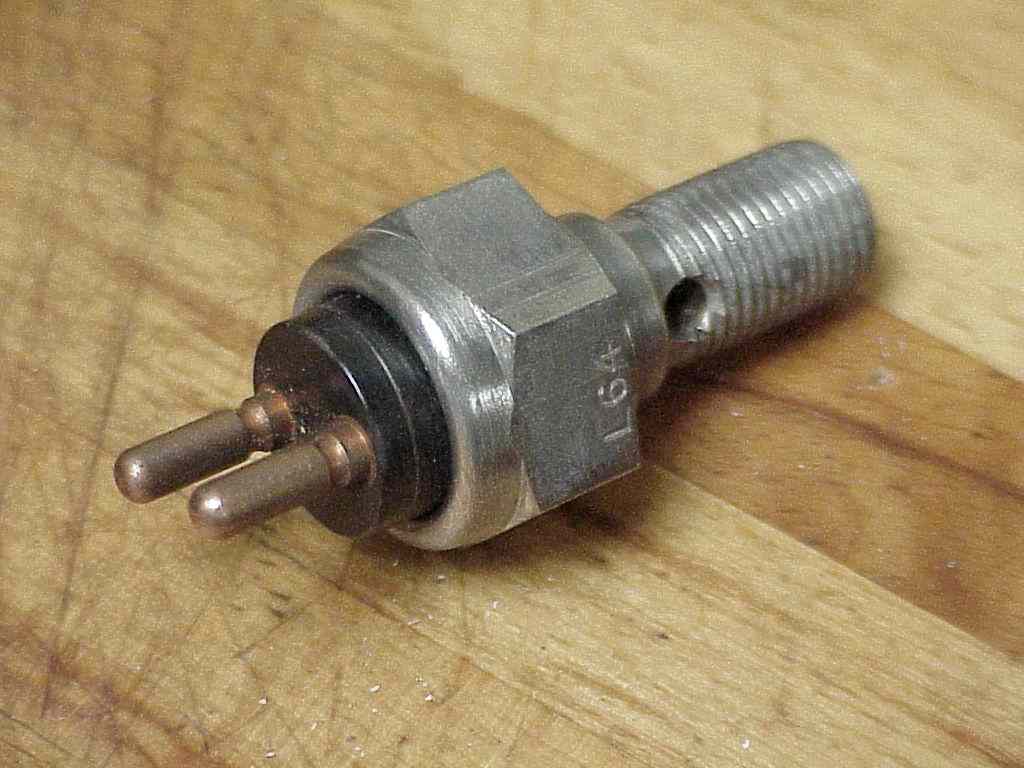
Brake switch
Windscreen wipers and hood hinge slots
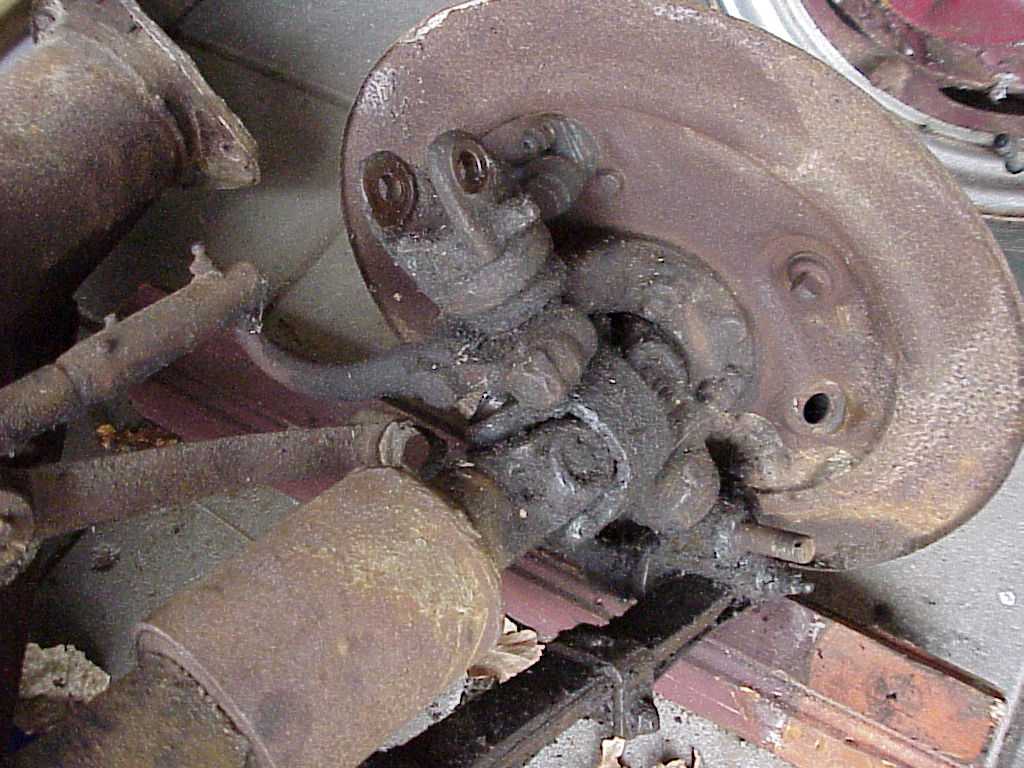
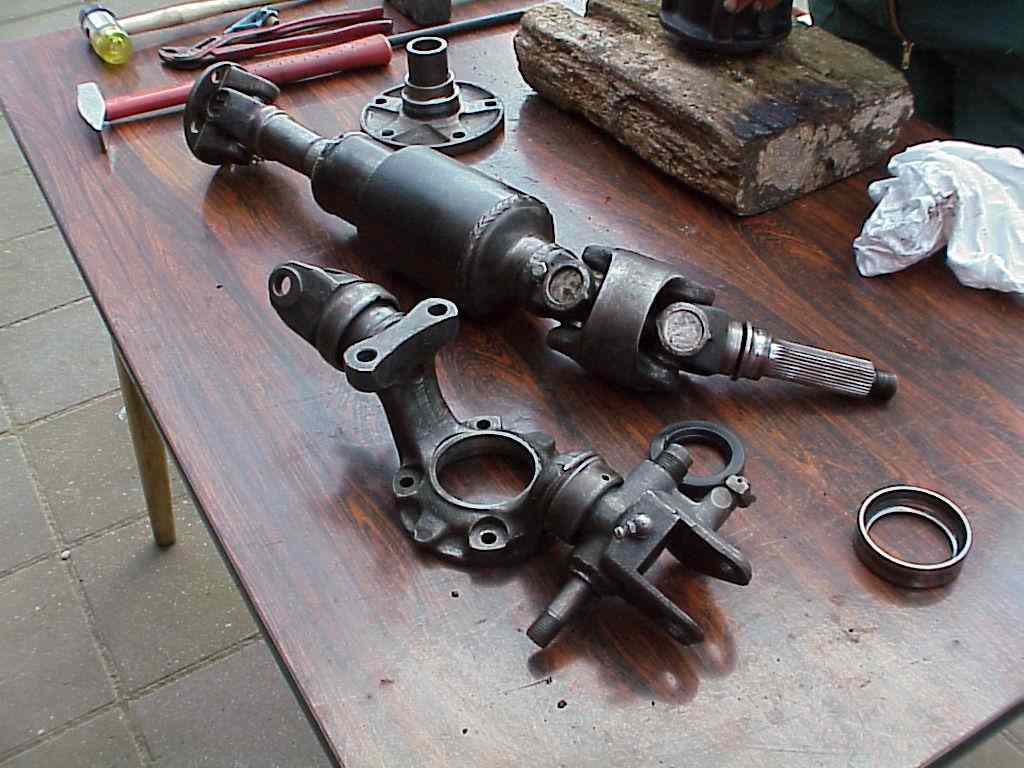
The restoration of the
front axle is still going on, the parts are now cleaned:
Drive shaft and spindle.
drive shaft and hub 1
Drive shaft and hub 2
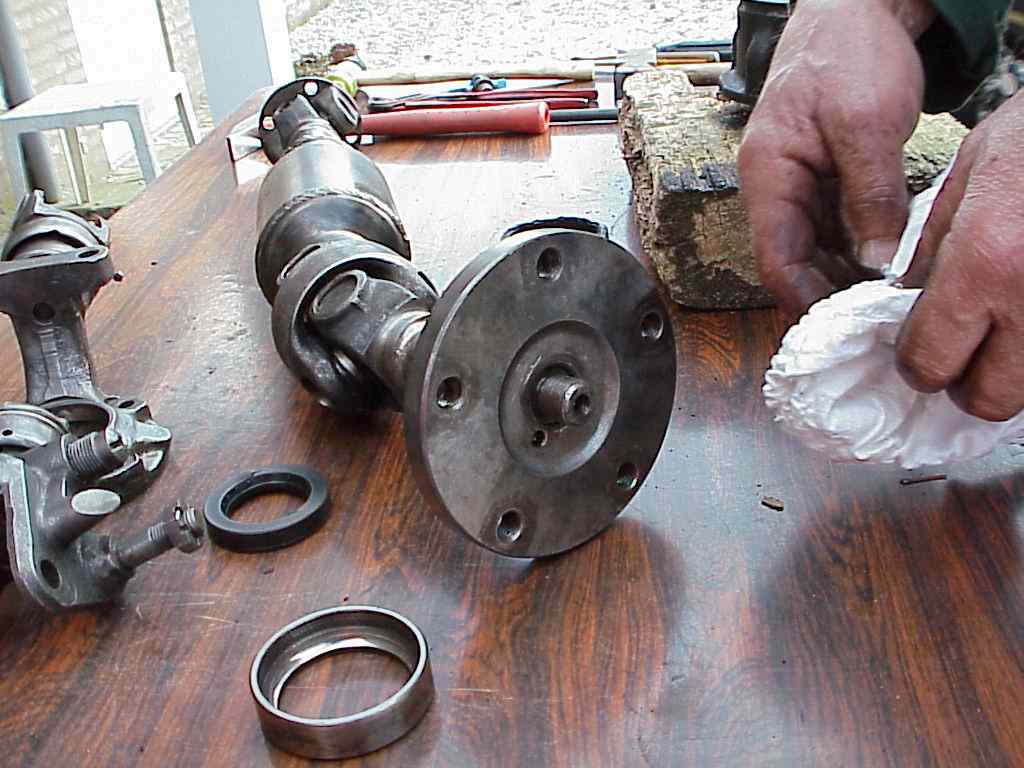
Drive shaft, spindle, bearings base and hub
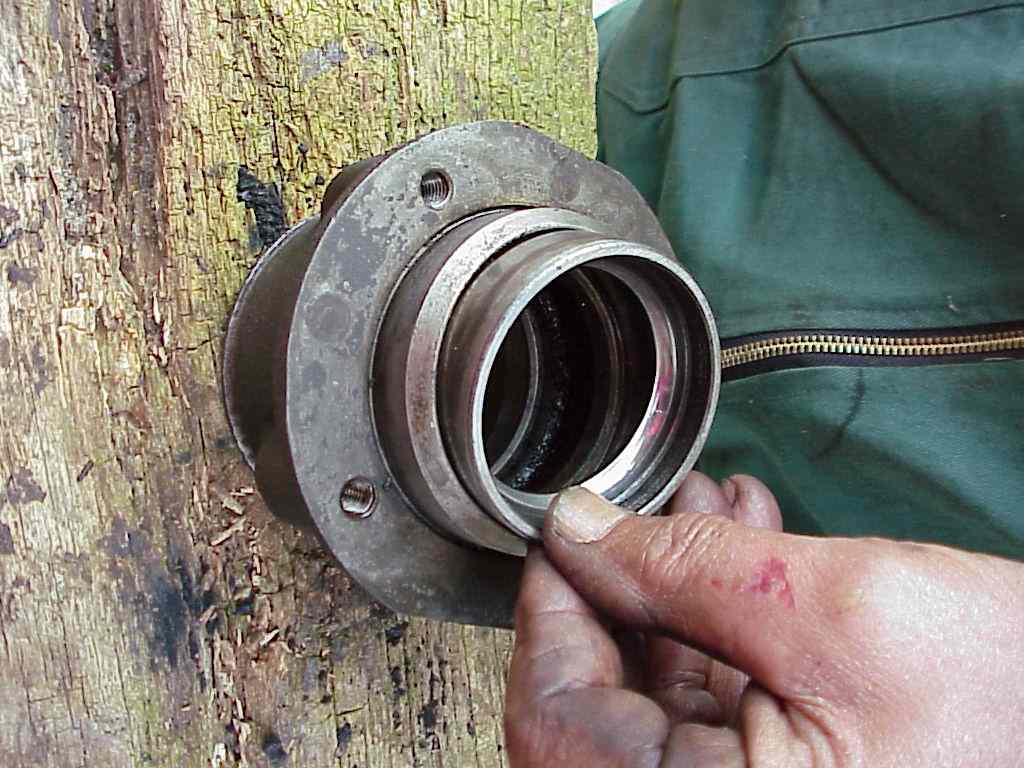
Detail of the bearings base and its (old)
grease seal
Detail of the bearings base, as seen from the
wheel.
TO BE CONTINUED...